CONSTRUCTION
OF THE
SNAKE VALLEY OBSERVATORY

It took several years to organise with our 'Snake Valley Astronomical Association' Clubroom being built by members in 2008. Then in March 2016 several members commenced building our Observatory. The Snake Valley Observatory is a 'Roll-Away' building instead of a 'Roll-off-Roof' style, or the more traditional and recognisable 'Dome' type.
This is a Photographic Journal of the total construction from start to finish. During the 6 months of construction we were faced with an Australian record Heat Wave for weeks on end not long after we started, and near the end progress was slowed by snow, continual rain, and eventually a flood which cut the entry road.
But in the end we achieved the goal we set ourselves. To build an Observatory for SVAA club members and the general public.
The Construction
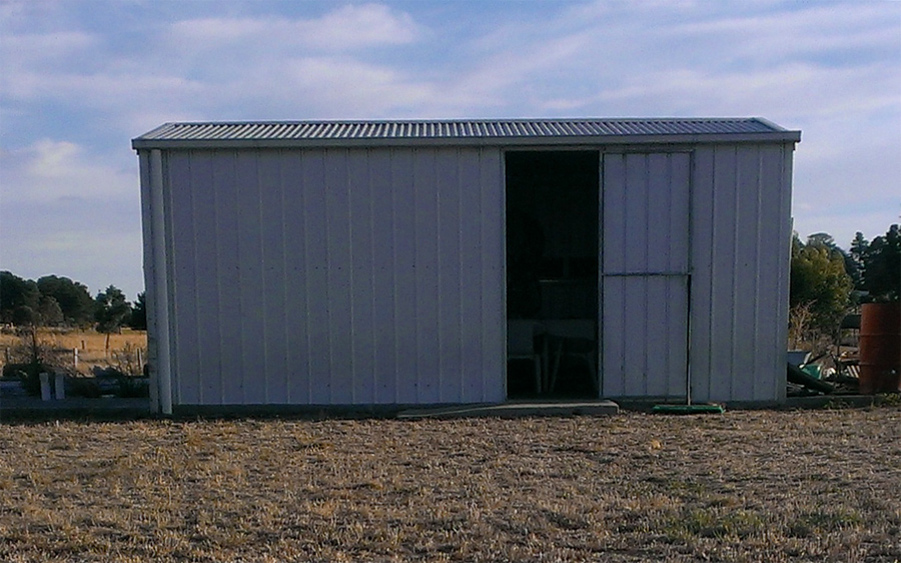
This is the original clubroom built by members in 2008.
It is a 4.2 x 6.0 metre steel shed. It keeps us cosy in winter and the Mosquitoes outside in Summer
We made sure it had a concrete slab outside on each end for future observatories:
It is a 4.2 x 6.0 metre steel shed. It keeps us cosy in winter and the Mosquitoes outside in Summer
We made sure it had a concrete slab outside on each end for future observatories:
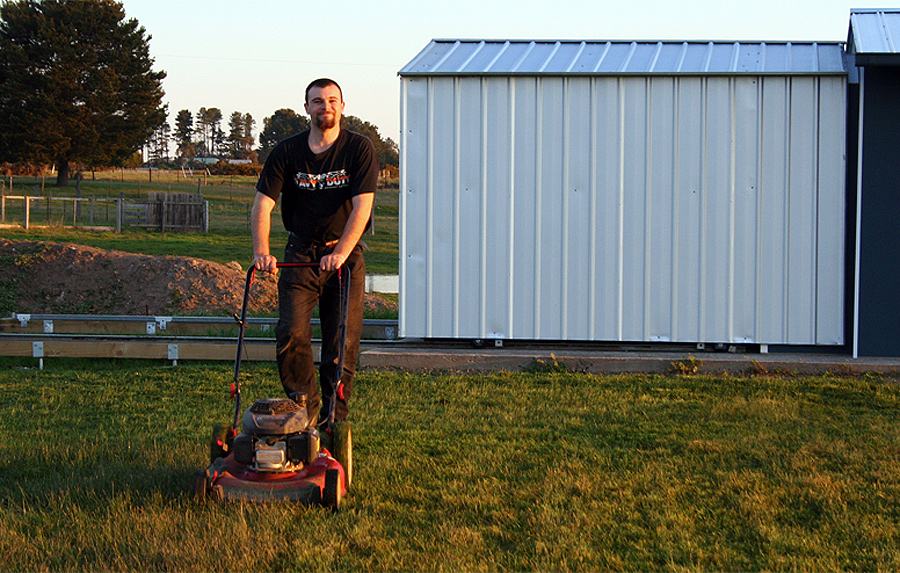
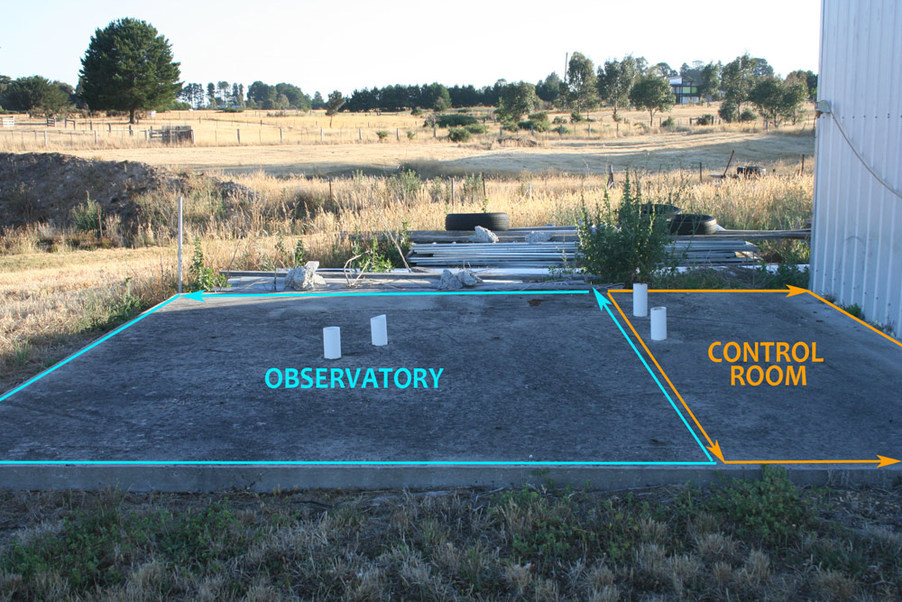
Here is the spot where the Observatory is being built, up against the East end wall of our Clubroom
taking advantage of one of the pre-planned concrete slabs:
Start with a pile of stuff to build it, shown here stored inside the clubroom.
A 3mx3m shed (10 feet x 10 feet) and lots of building material, doors etc.

13th March 2016
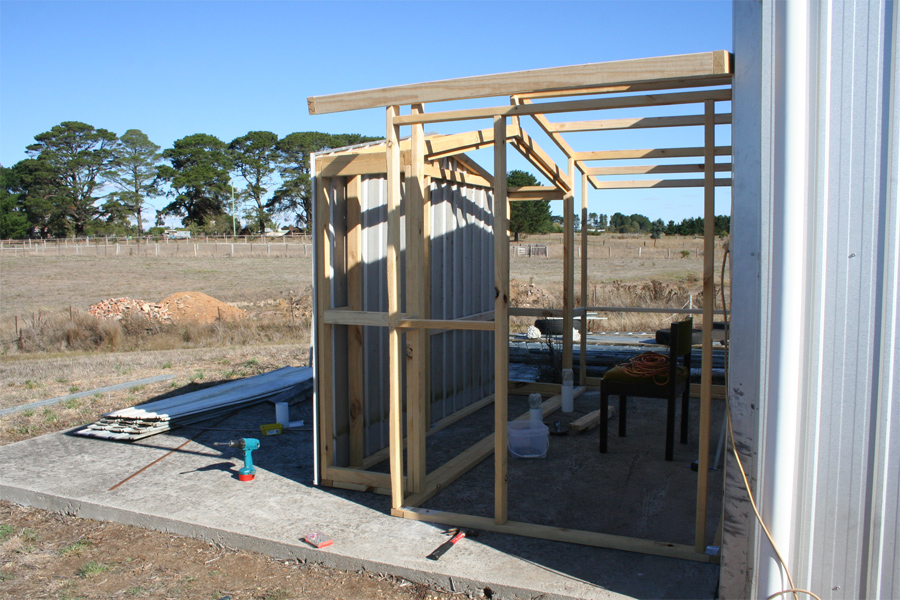
Starting construction.
This is the desk area for the Control Room. The Roll-Away shed will close up over top of it (you'll see what I mean later):

Second day and other members arrive to help construction:
Jake, Barry, Tim, Ben, and Ken
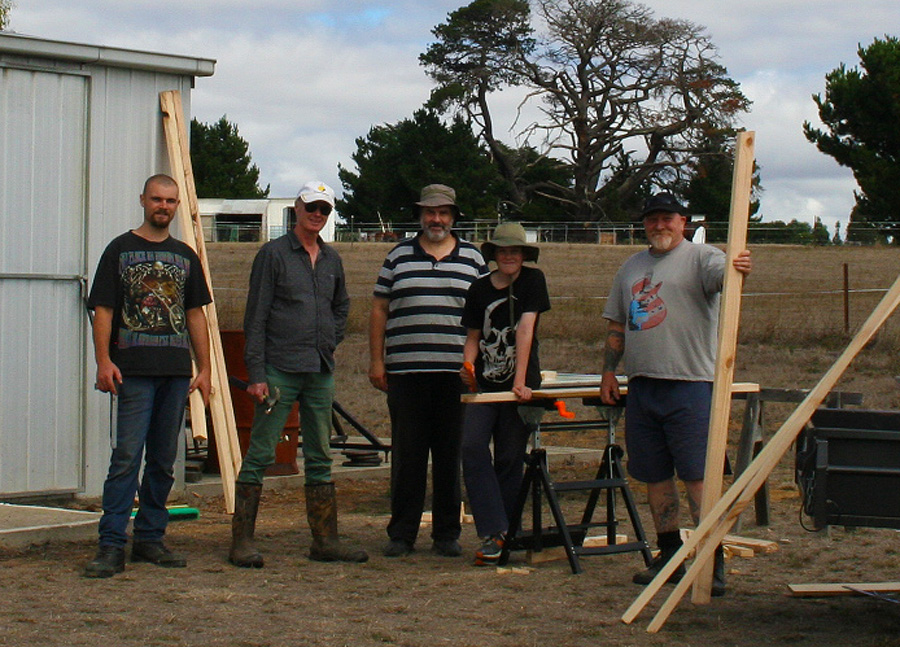
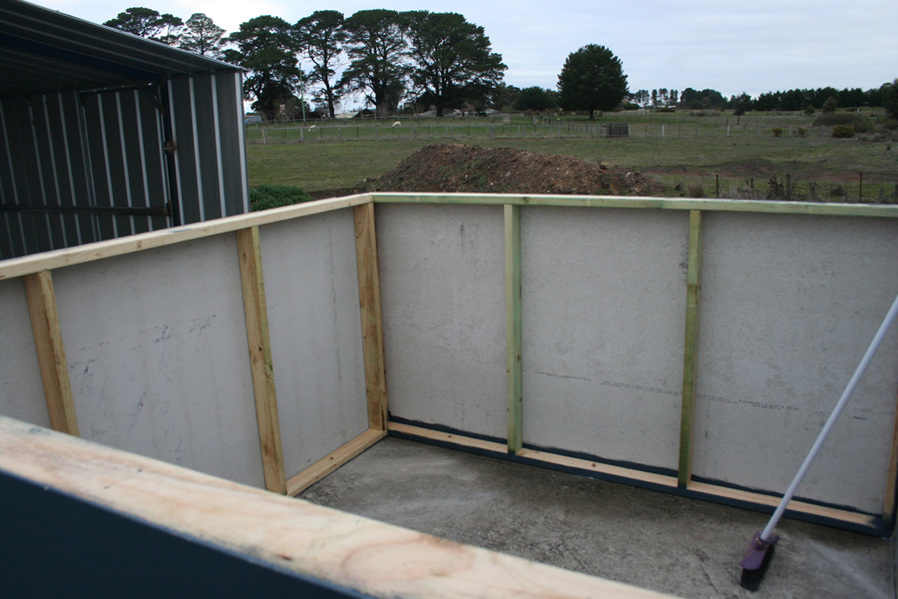
and we all got stuck into building the framework for the Control Room:
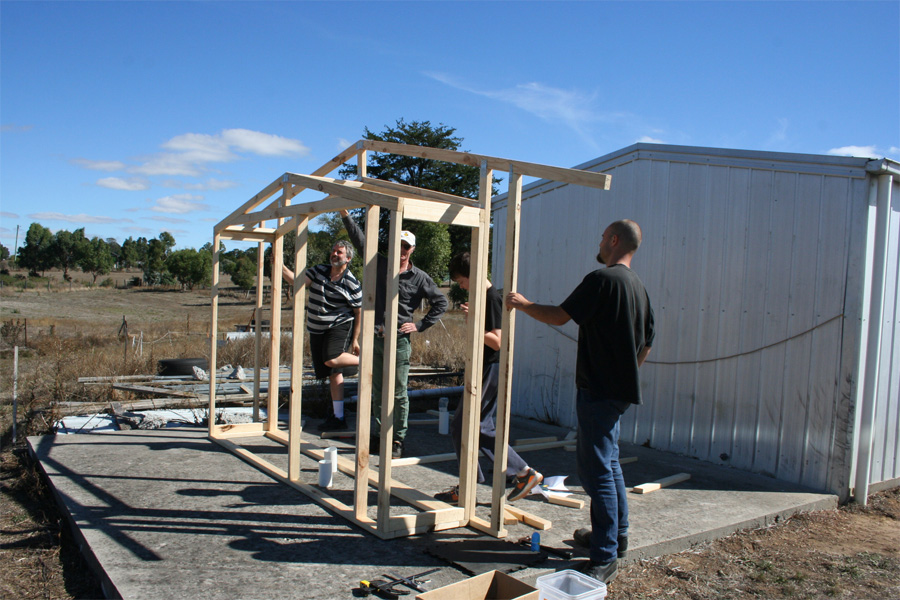
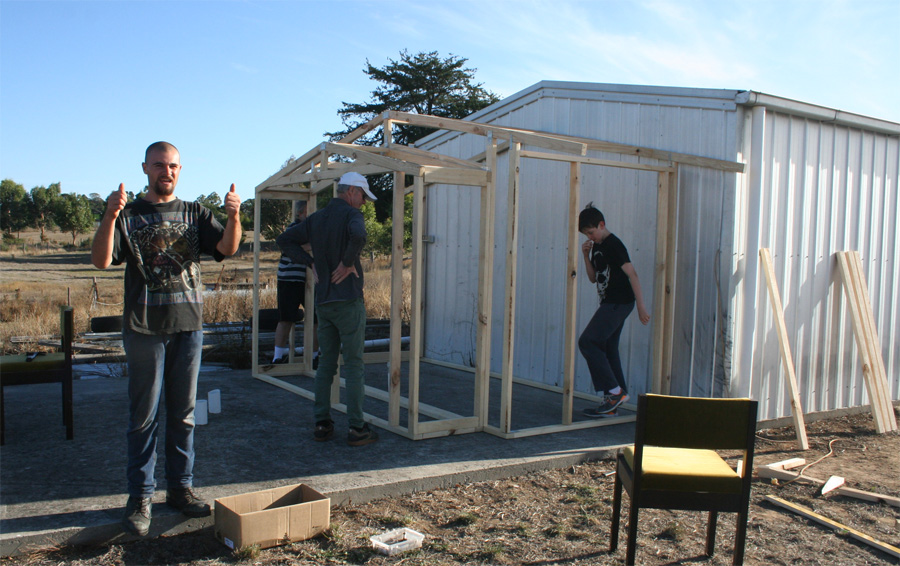
and this is where we got up to at the end of the day. The framework for the full Control Room:
20th March 2016
A few of us had a chance to get stuck into it again today. The rain has stopped and the sun came out.
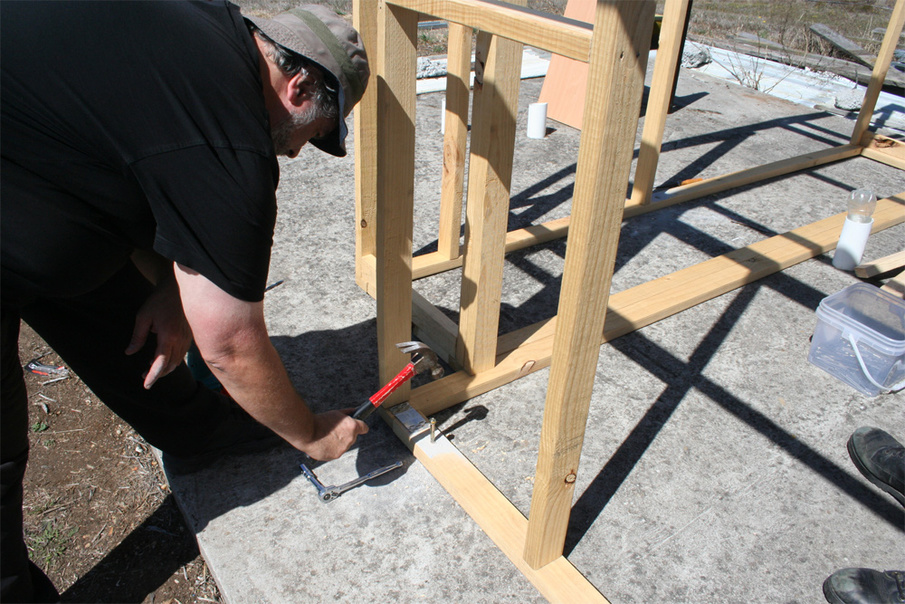
Here's Tim bolting the frame down to the slab with Dynabolts:
Looking inside the control room with the observatory front wall attached:
A view of the front wall from outside:
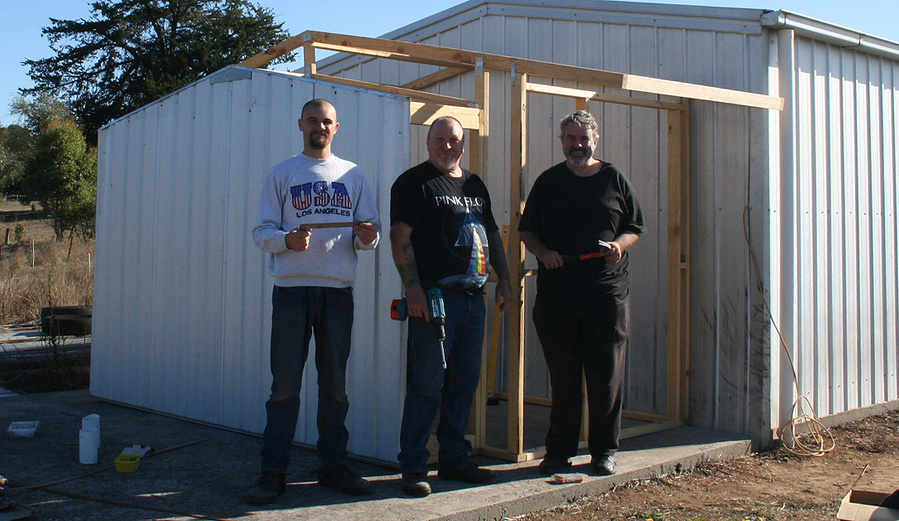
Today's work crew. From left to right, Jake, Ken, and Tim:
22nd March 2016
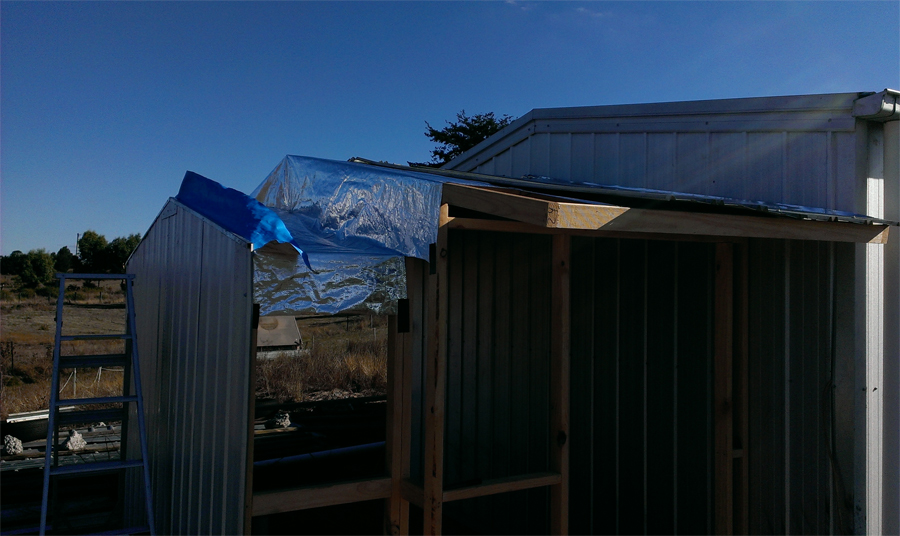
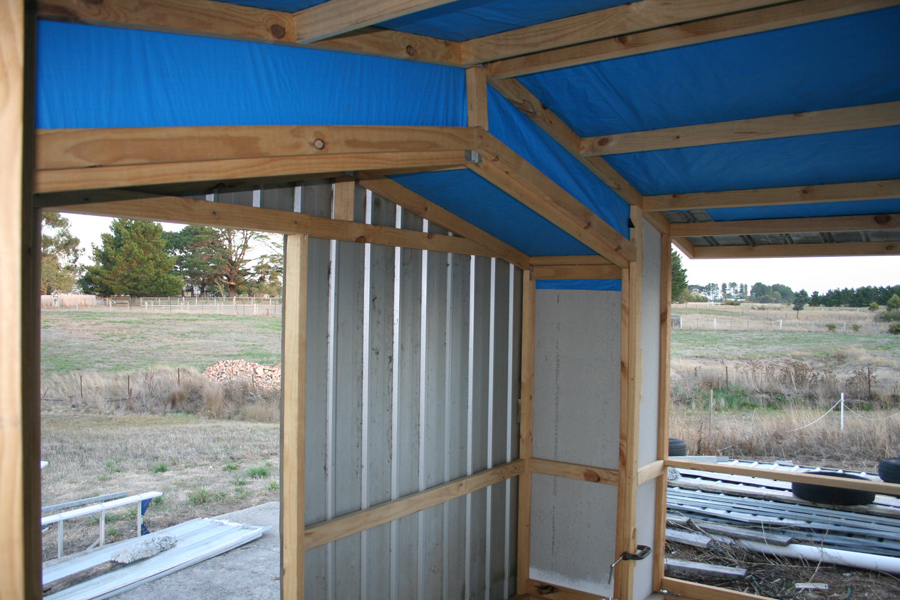
Adding Sisalation (Reflective Reinforced Foil Insulation), and some of the roof sheets.
The Sisalation on the frame:
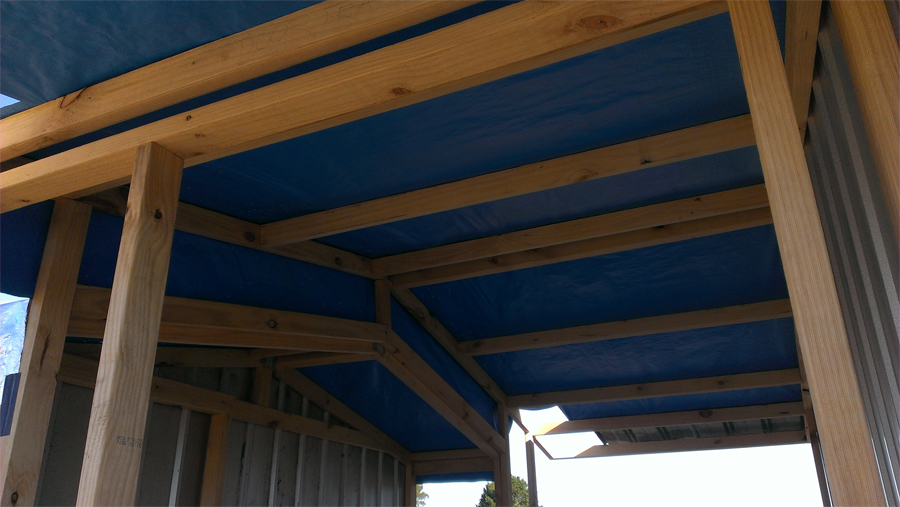
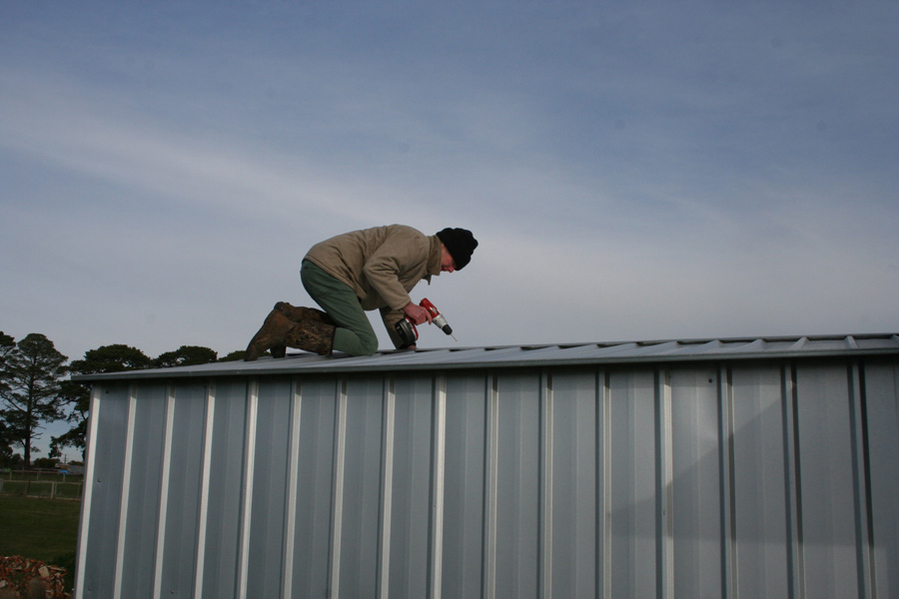
The second-hand Roof sheets go on:
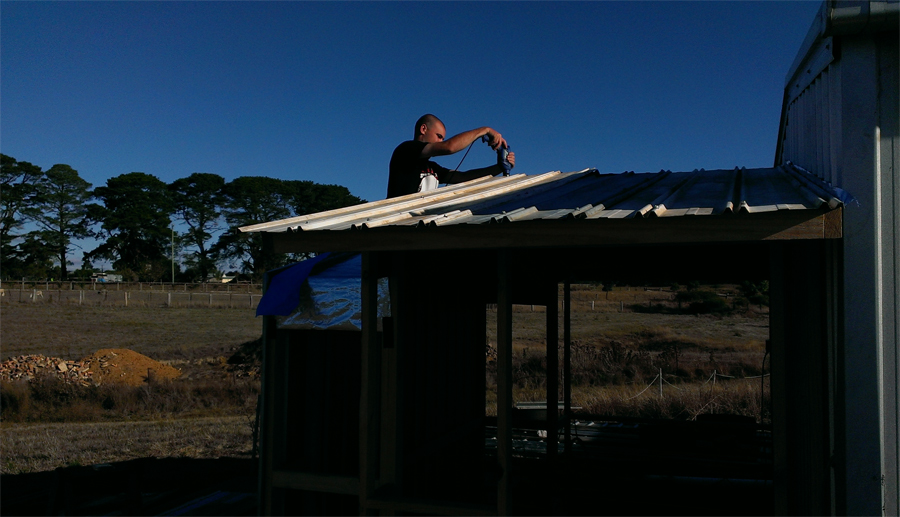
Making sure the sisalation raps the whole roof to keep it water-sealed:
28th March 2016
Doorway cut into the fixed end wall. This allows access from the Control Room to the Observatory area:
Doorway cut into the fixed end wall. This allows access from the Control Room to the Observatory area:
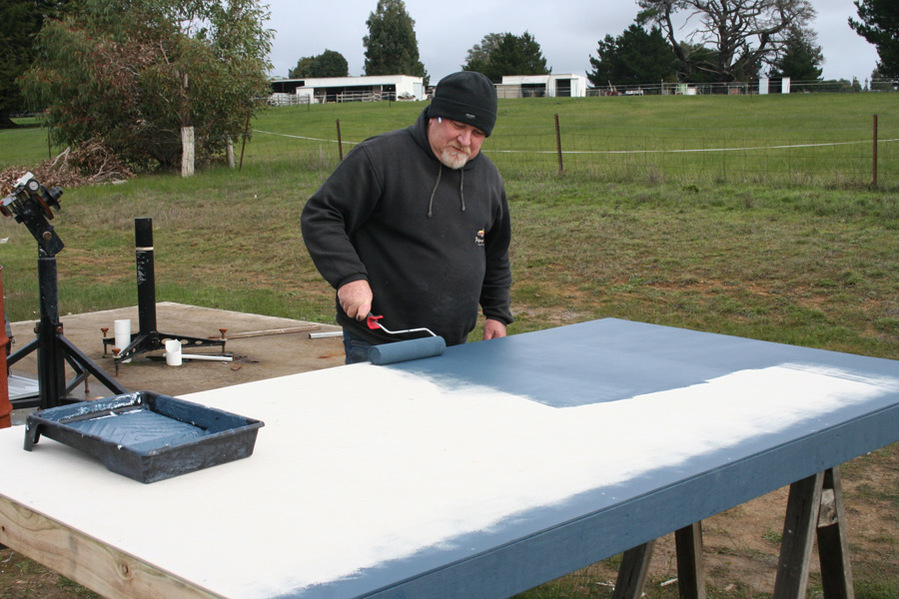
Roof sheets on and getting a couple of coats of white paint to reflect the heat of the Sun:
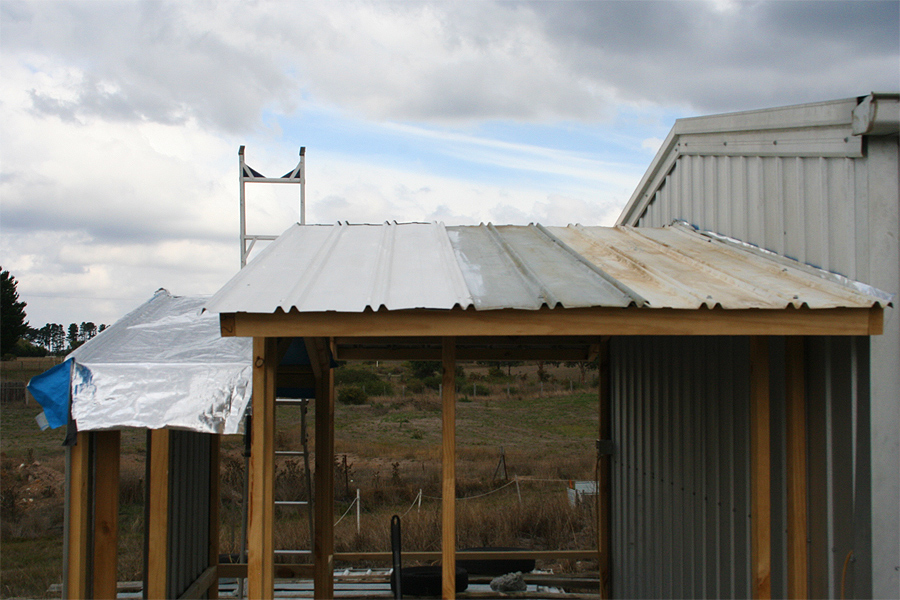
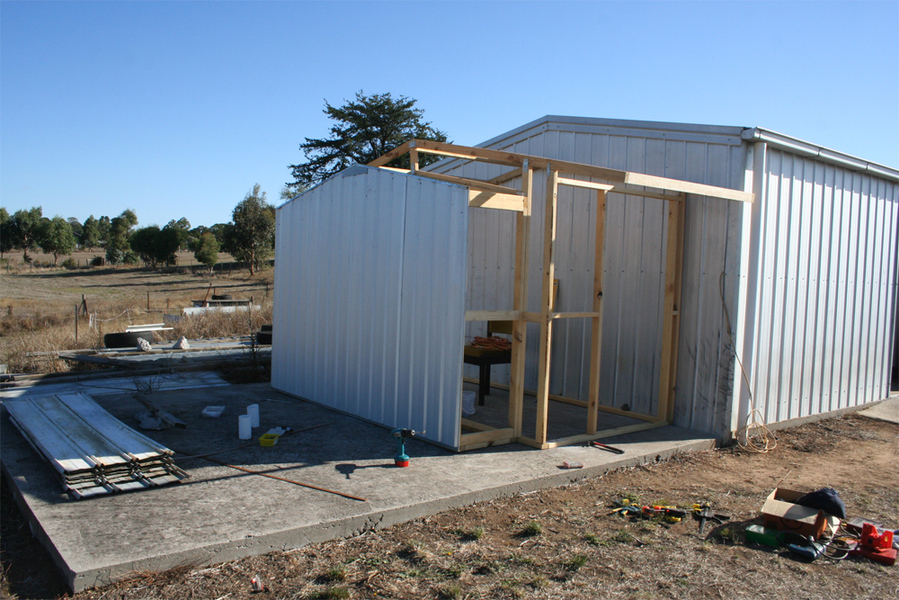
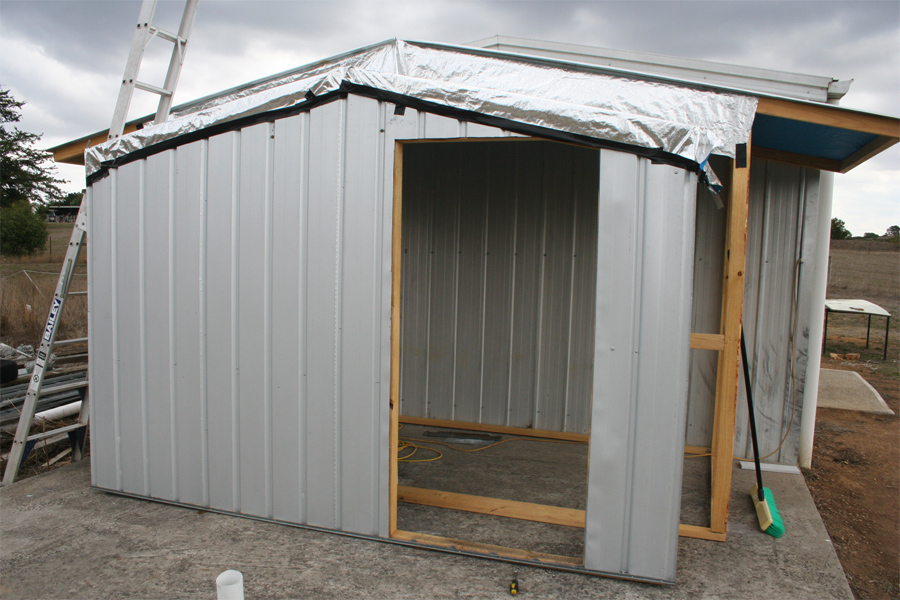
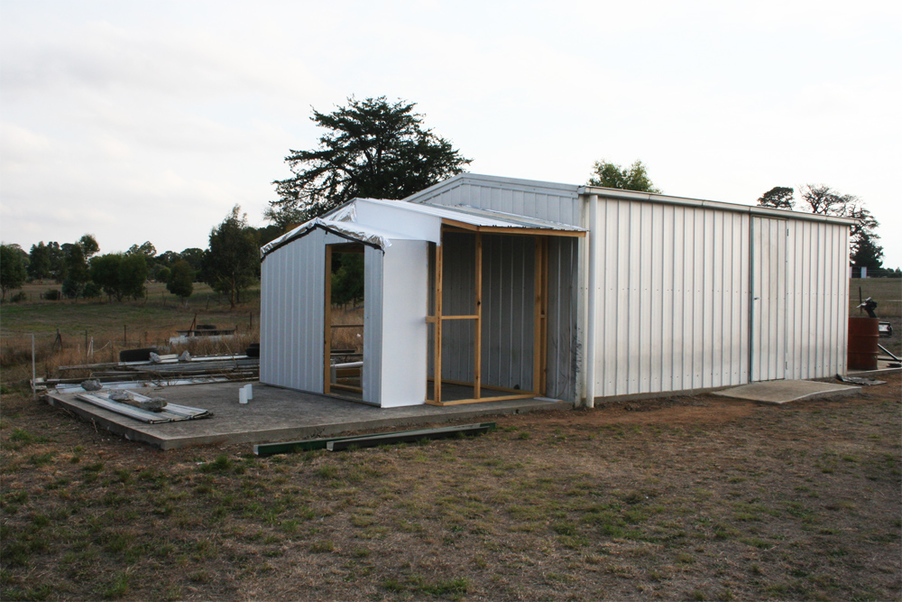
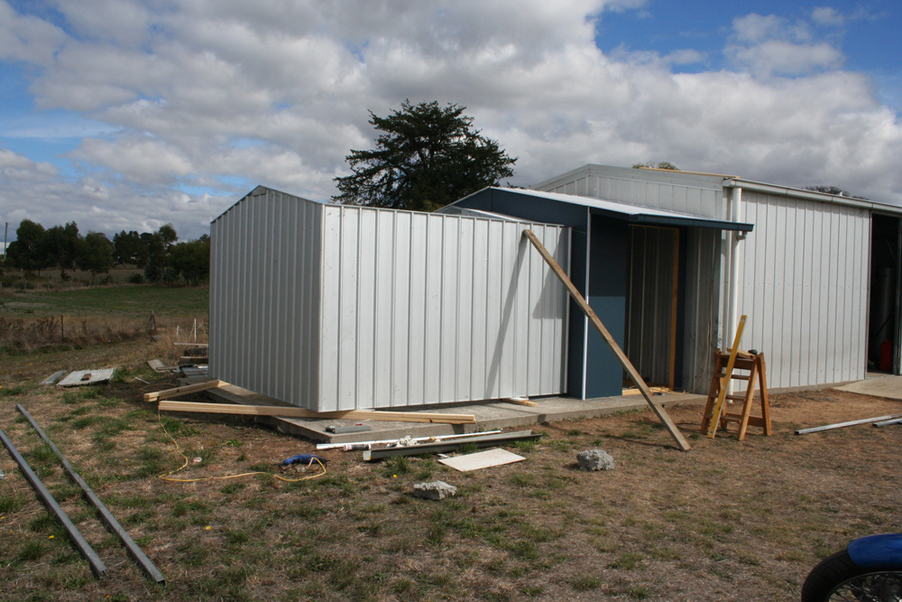
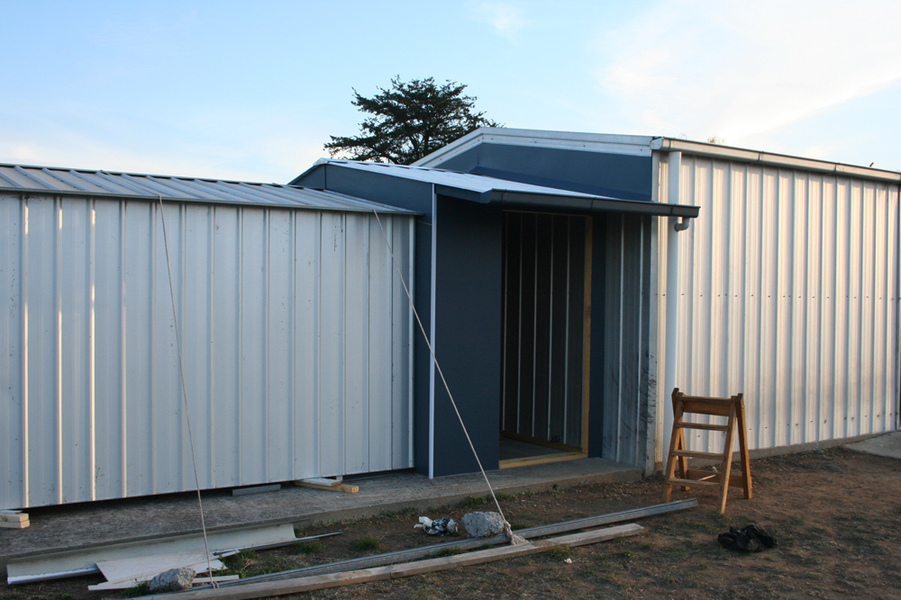
Closing in the small front section and painted. This part is roofed and walled in Cement Sheeting:
How it's all looking at the moment:
1st April 2016
Not much done in the last few days.
We added a few more wall panels and got some more painting done.
6th April 2016
We ran out of light today because daylight savings ended and we didn't notice the time.
We were still painting as it got dark so no pics from today, but here's a few pics from yesterday
Adding the Corner strips for looks and safety:
and water-sealing every external joint
A quick look at where the inside is up to:
And what is the best thing to do after a day of building?
7th April 2016
Not a very interesting report for today.
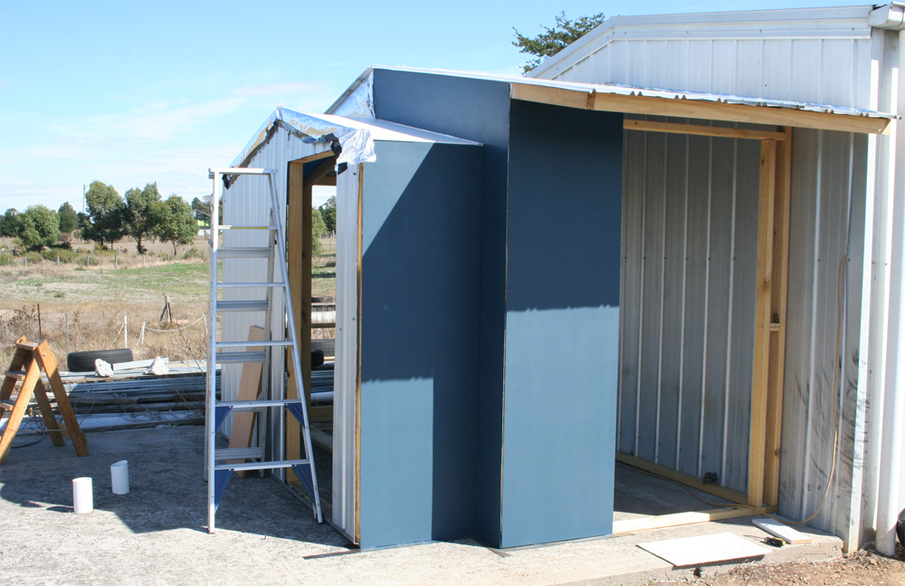
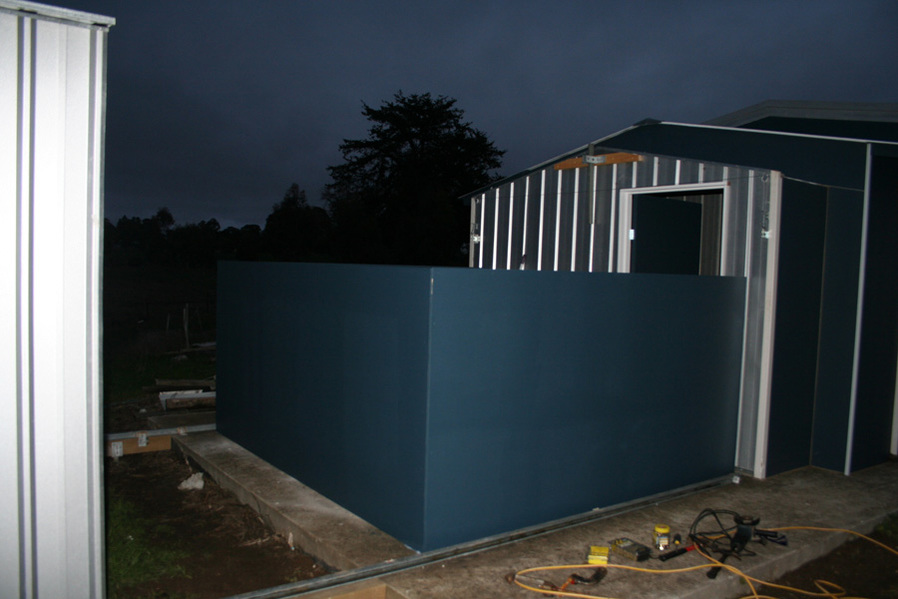
We Cement Sheeted, painted, and water-sealed the far end wall to completely close in the control room:
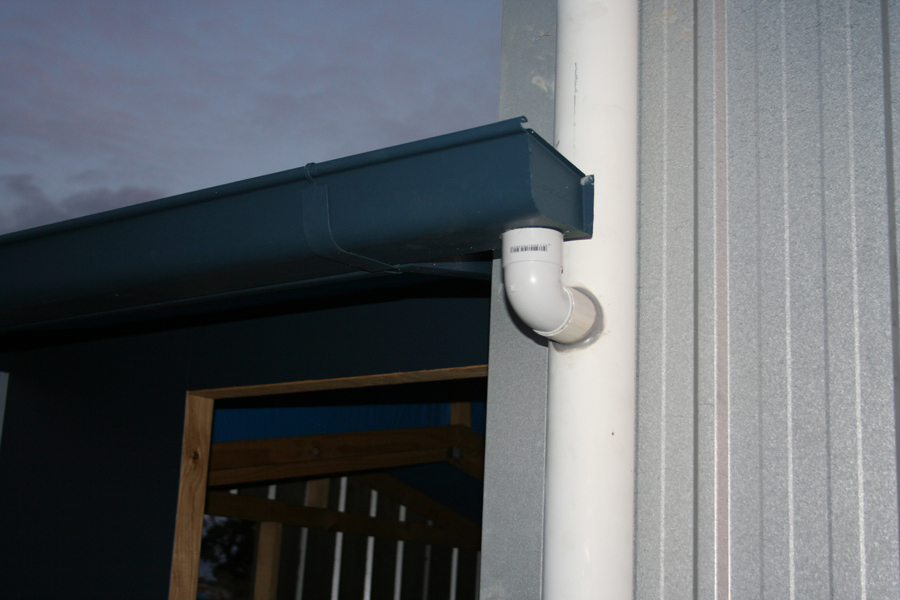
Then added the Guttering and connected it to the downpipe on the main building:

9th April 2016
We had a very productive day today.
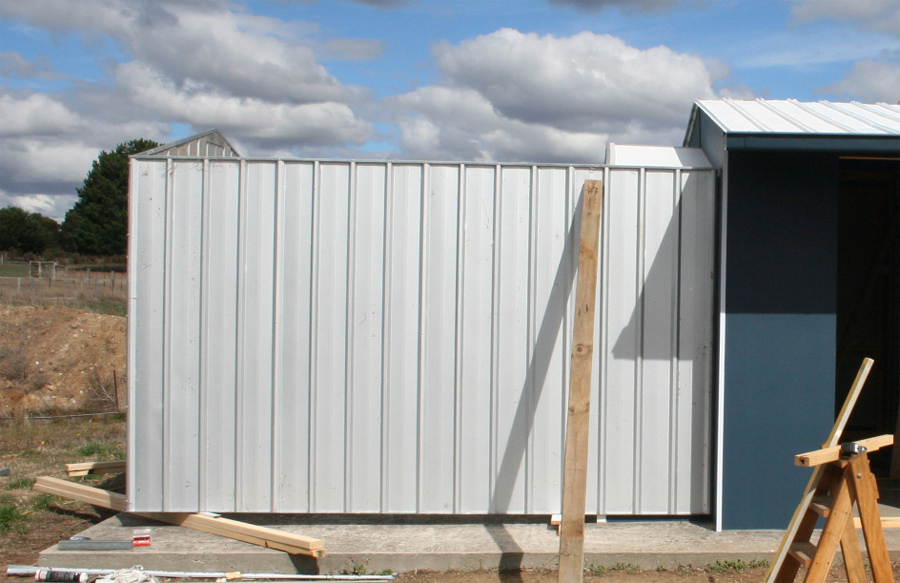
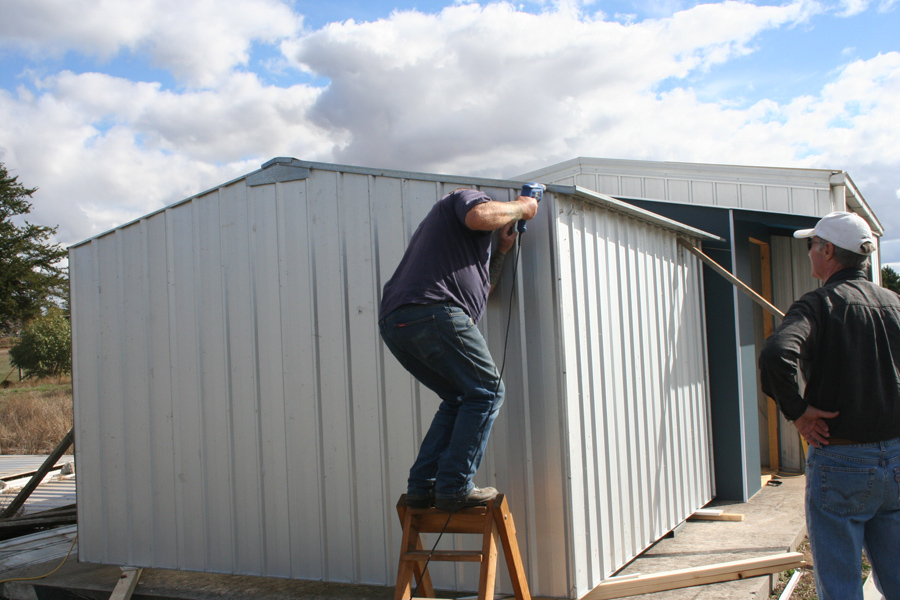
Ken, Tim, Barry, and Jake assembled the Roll-Away section of the Observatory (3m x 3m [10' x 10'] Shed)
Walls up, leaving a gap at the bottom. This gap is to raise the shed section
so when it is on wheels it closes over the smaller control room section:
Notice how the side walls go past the small section of the Control Room by 600mm (2') and cover it:
Then the roof goes on:
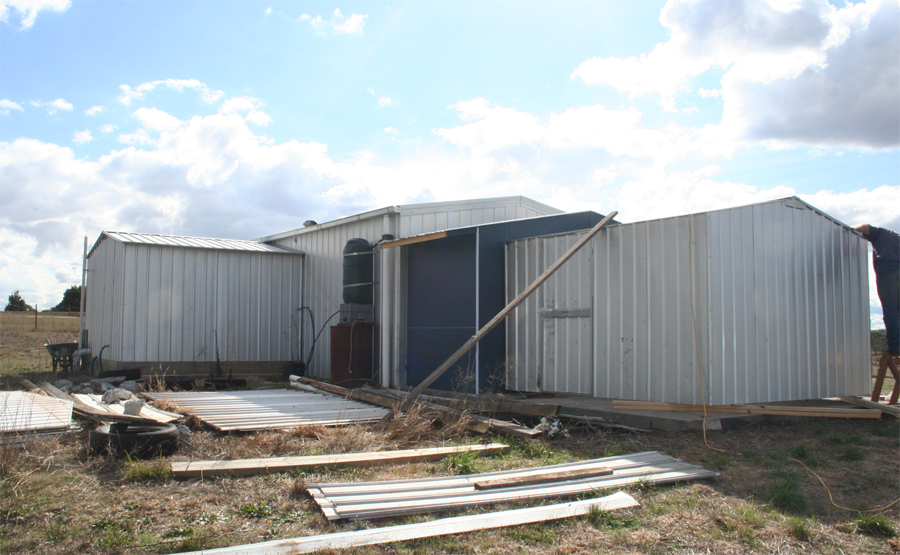
A view from the back
Tim puts on the Ridge cap:
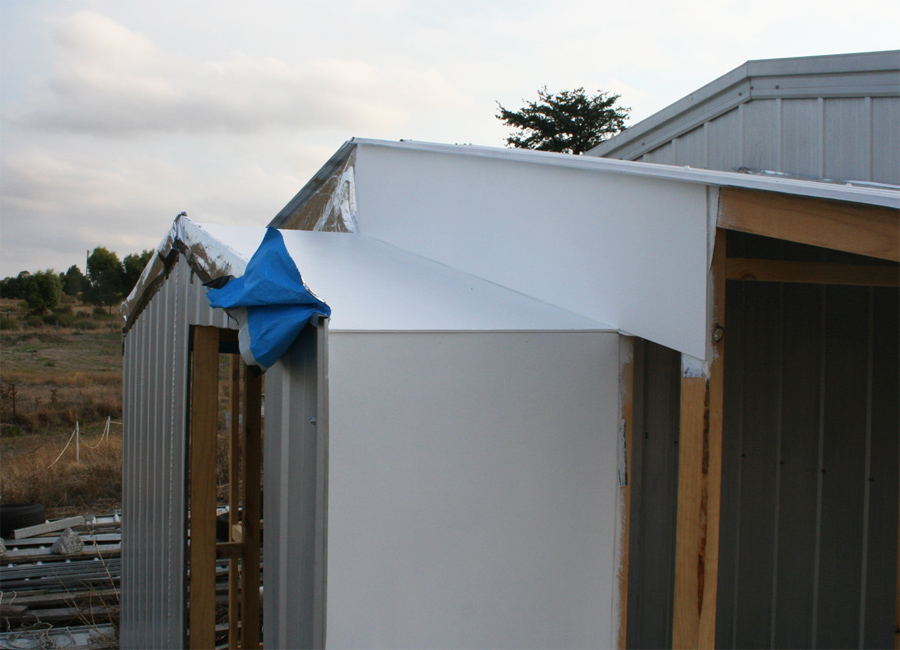
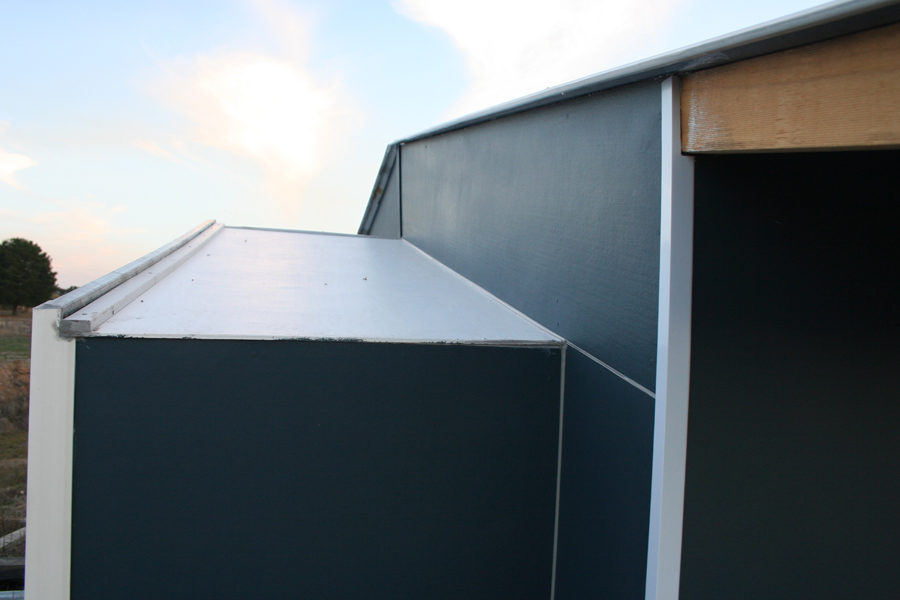
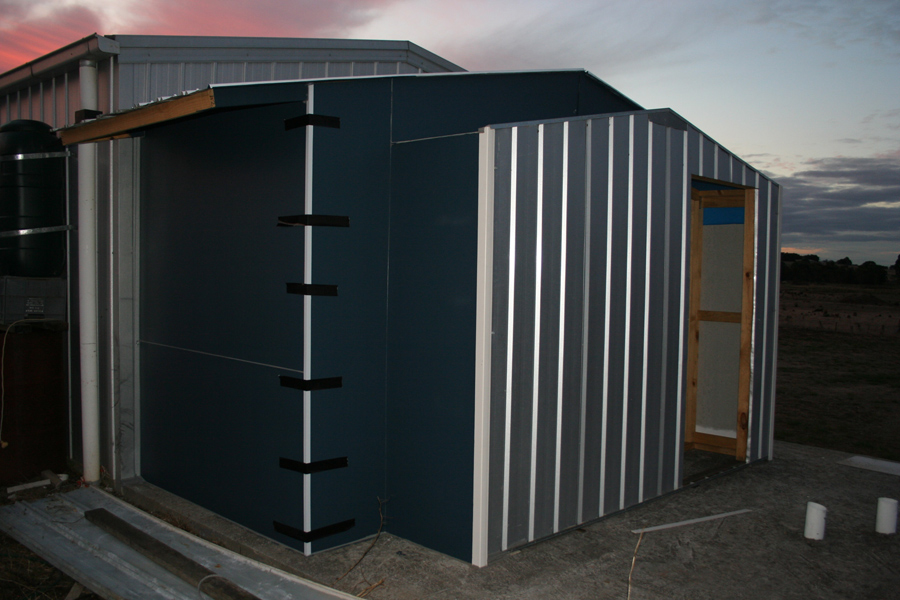
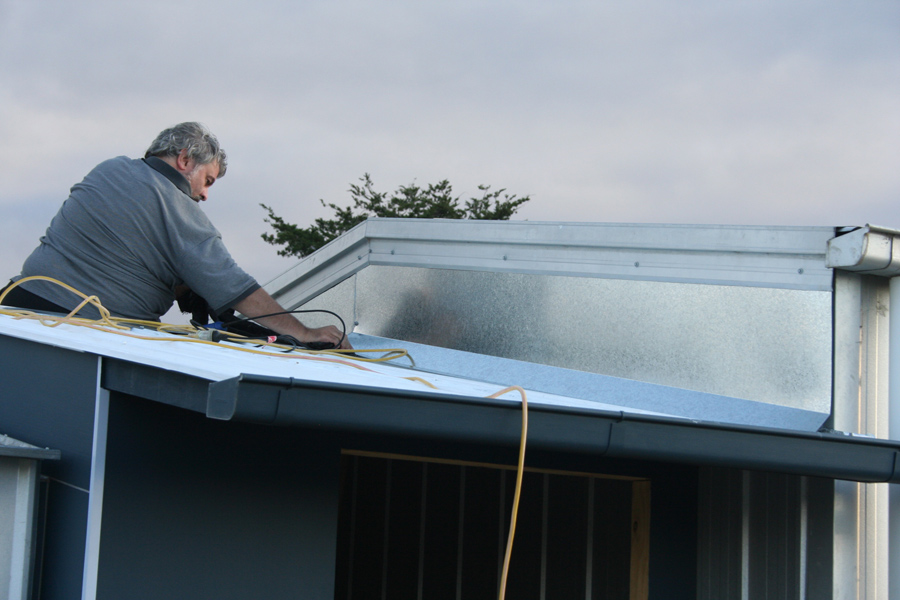
Due to the staggered profile of the wall sections of the large main shed it is hard to water-seal where the two building join,
so we had some flashing made so any rain hitting the large main shed wall will simply run onto the roof of the control room
and not down the main shed wall between the 2 buildings.
This shows the shape we had the flashing made. It is 2.4 metres long and 400mm wide, bent 45 degrees at 300mm:

The flashing gets lined up for trimming:
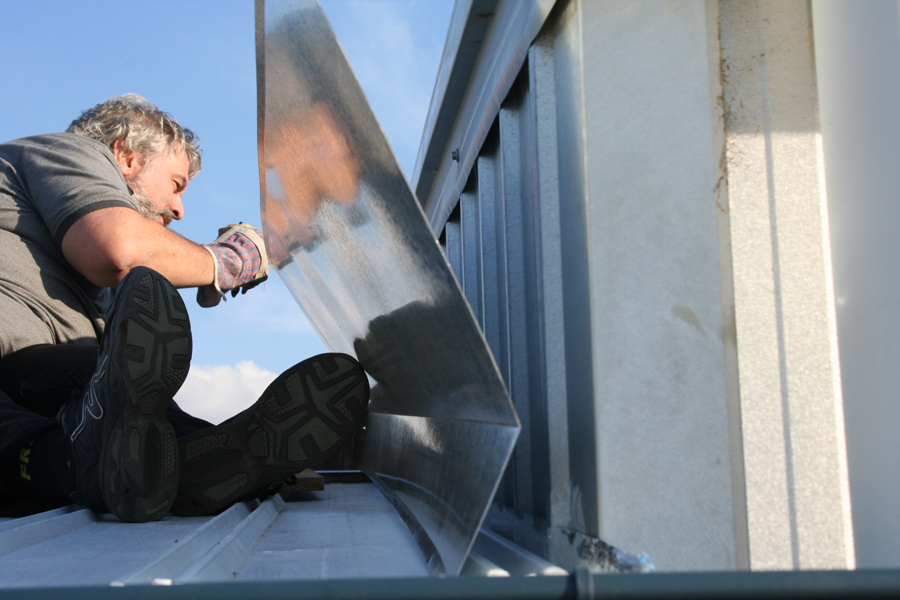
. . . and then fitting.
See how the rain hitting the top wall section will now run directly onto the lower roof:

The finished flashing to complete all the waterproofing of the Control Room:
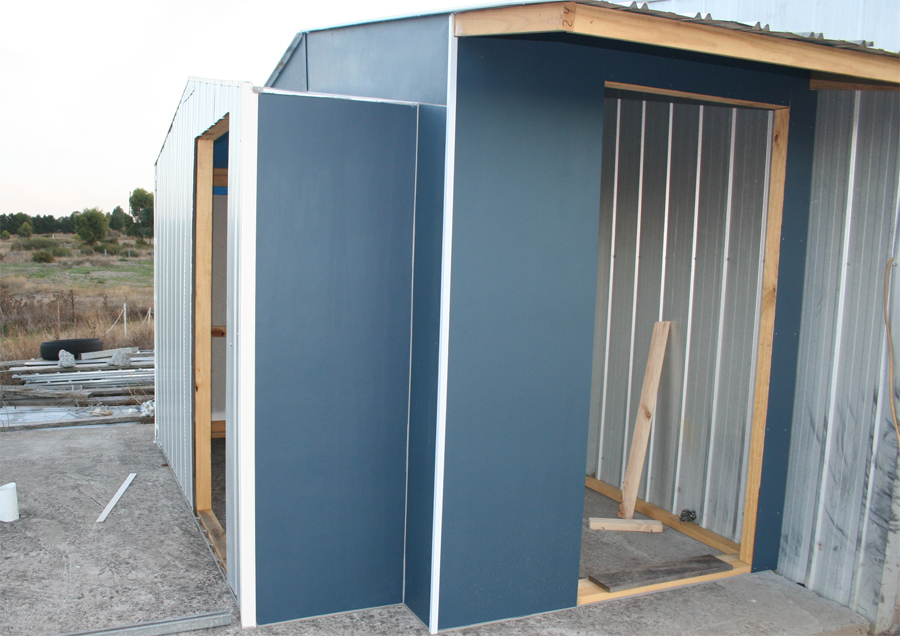
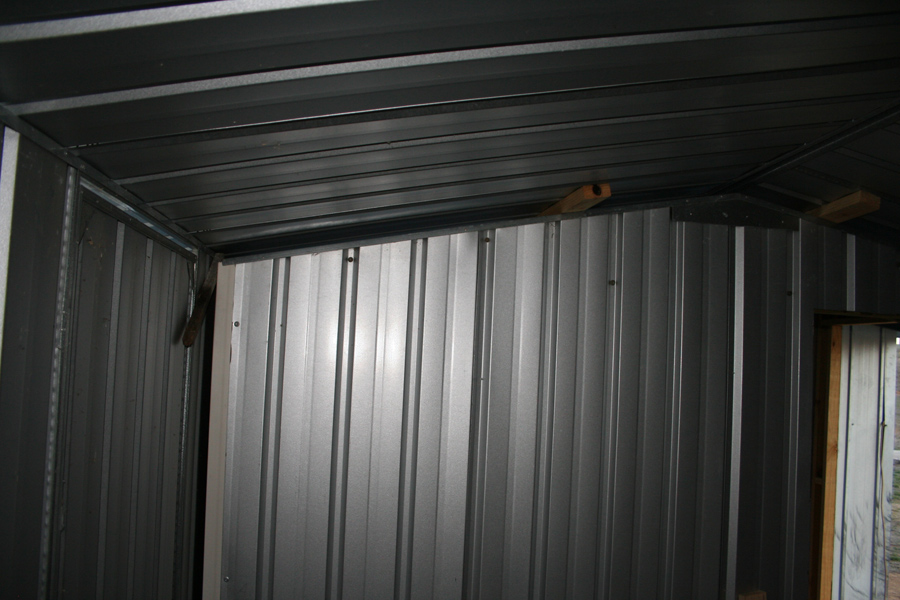
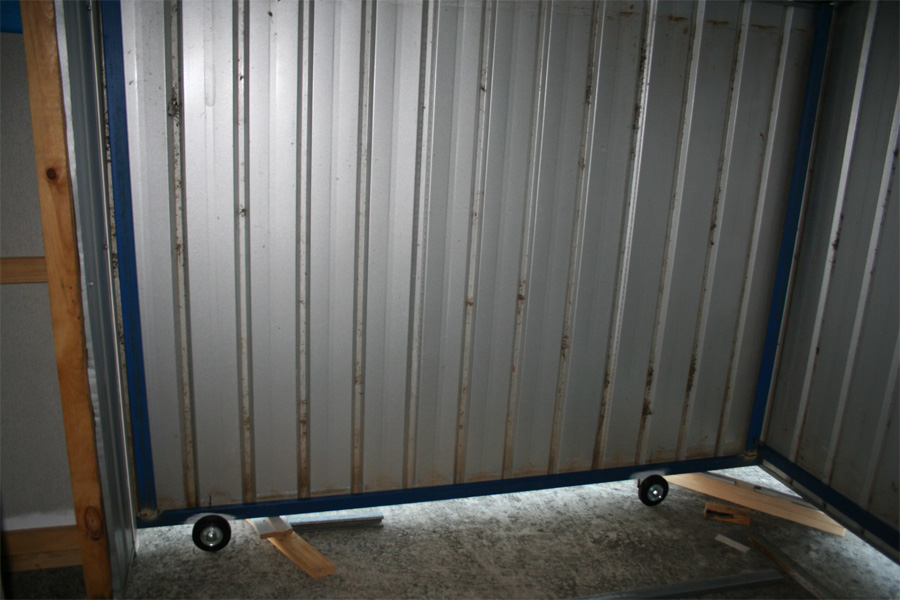
Here is a view from inside the roll-away shed showing the gap around the fixed end wall
so the roll away shed can easily fit over it as it rolls shut:
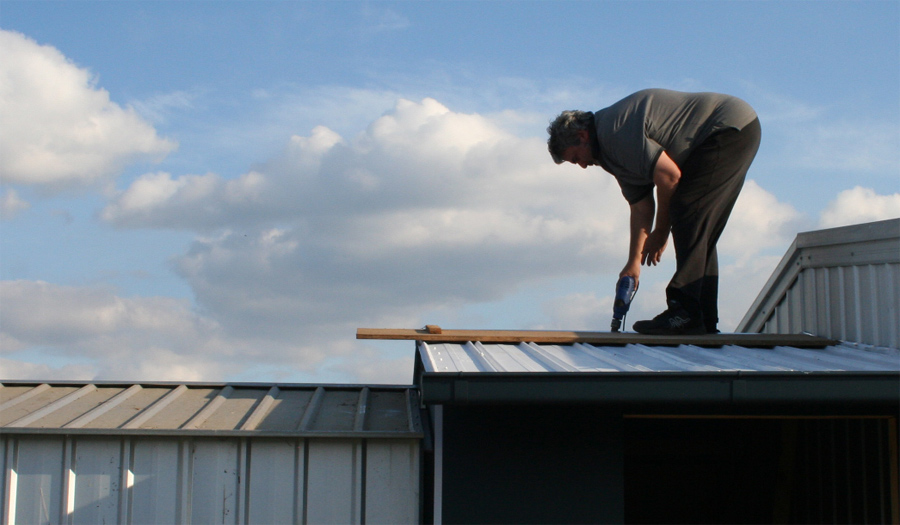
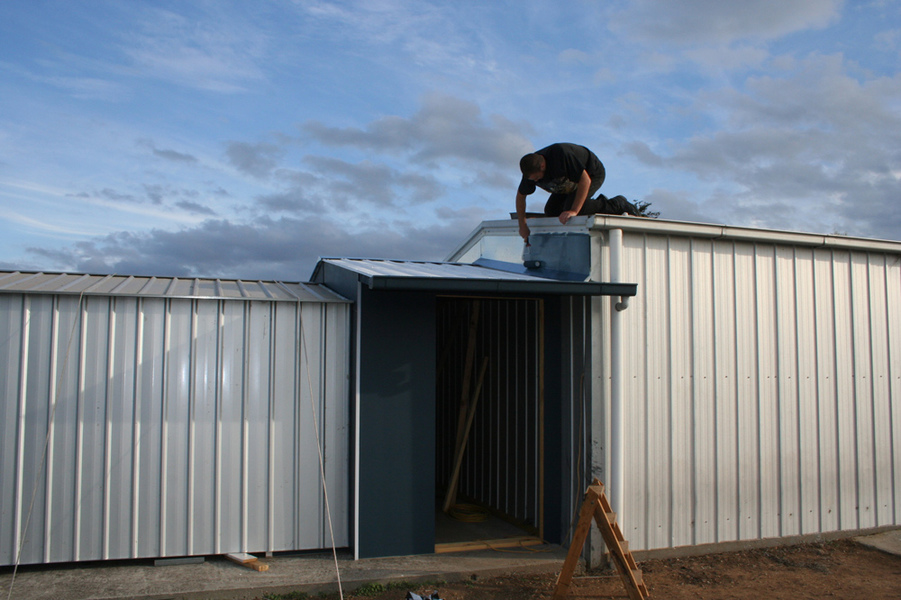
Jake climbed up on the roof and finished off the painting by doing the flashing on the wall
between the main shed and the Control Room roof.
17th April 2016
Time to build the frame inside the roll-away shed section:
RHS 50mm x 25mm box Steel for the frame
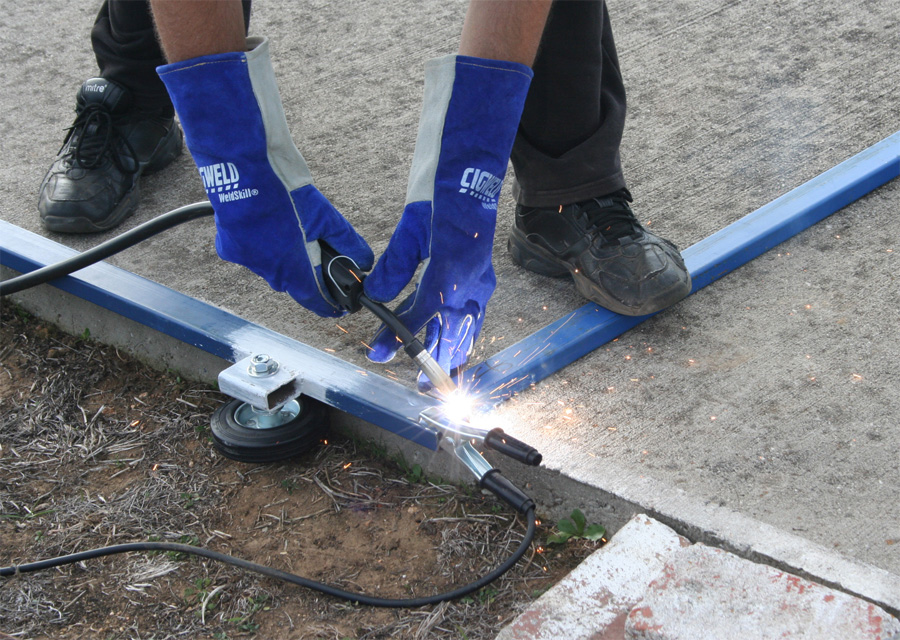
Wheel blocks in place:
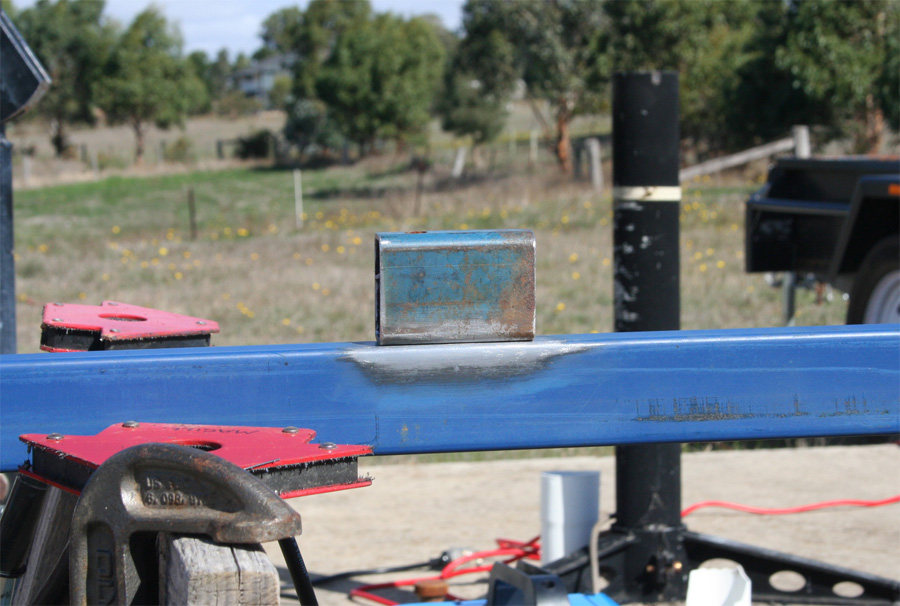
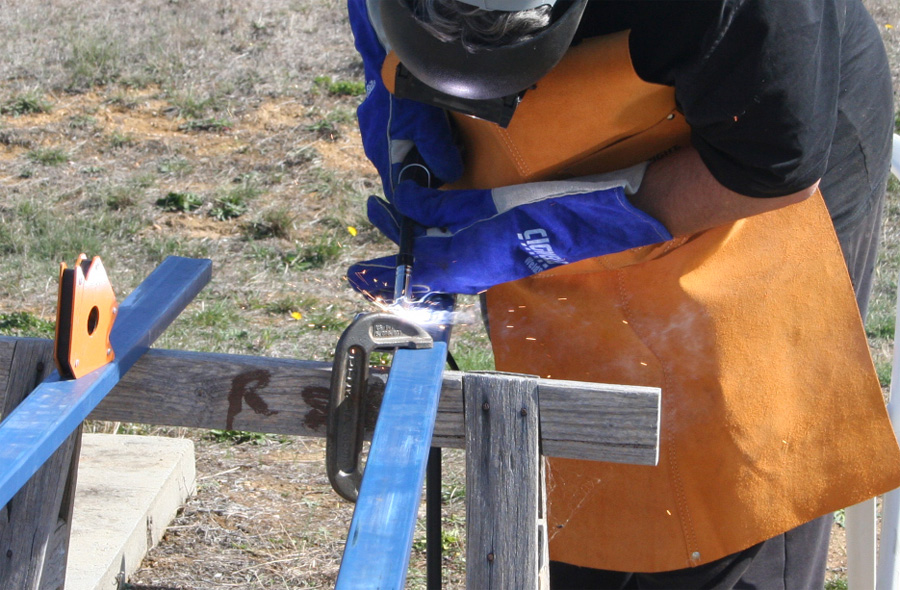
Welding wheel blocks on:
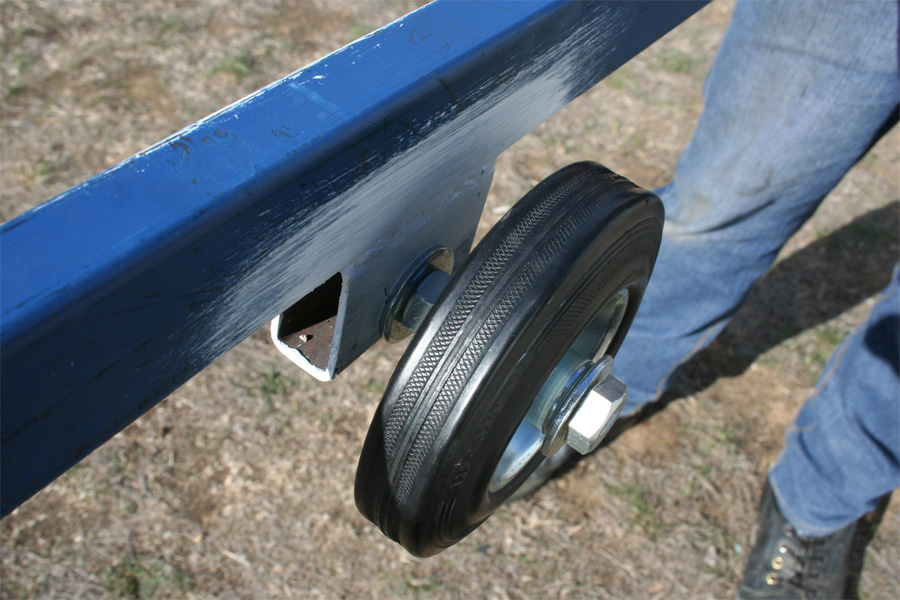
Wheels fitted:
Welding the uprights to the wheel frame:
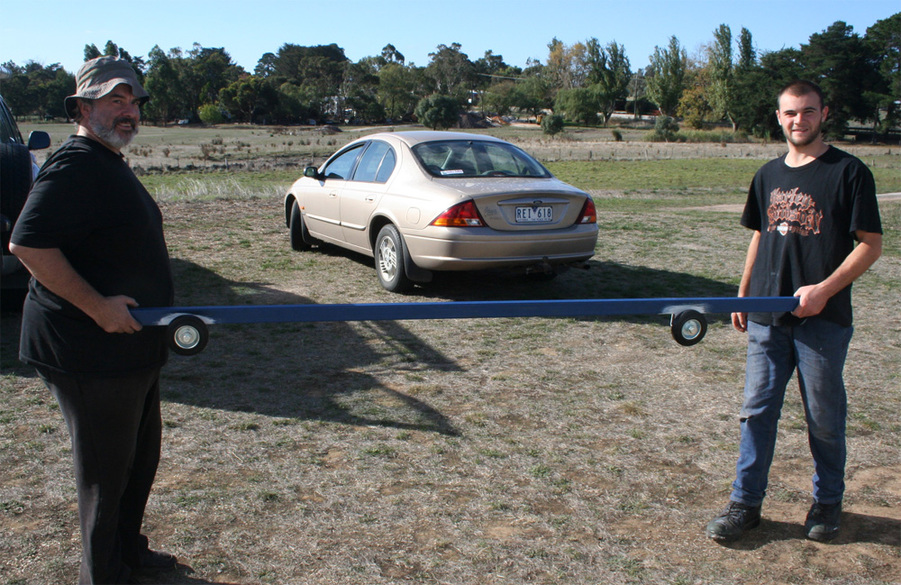
Fit the whole section into the shed (both sides have been done):
and set up the cross frame ready to weld in place:
18th April 2016
A new day and back at it.
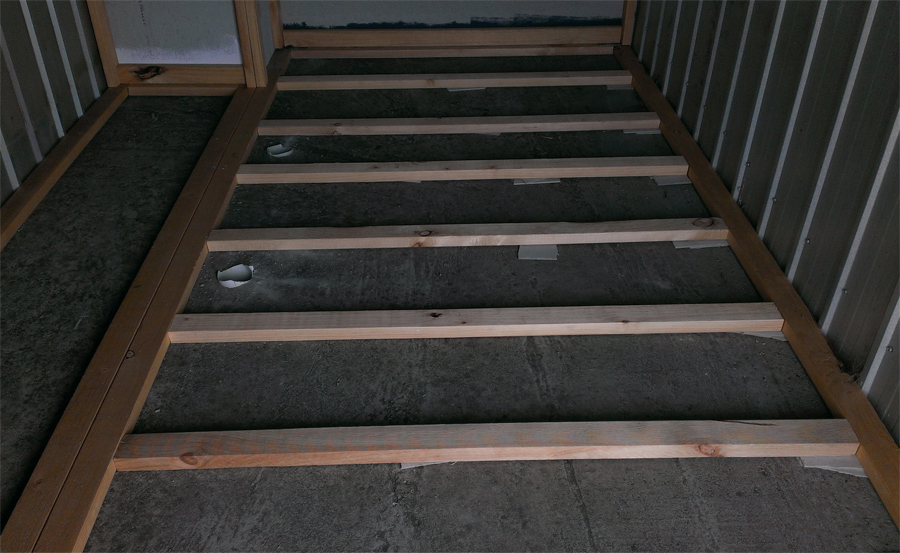
Today was spent with Jake and Ken getting the floor done in the control room.
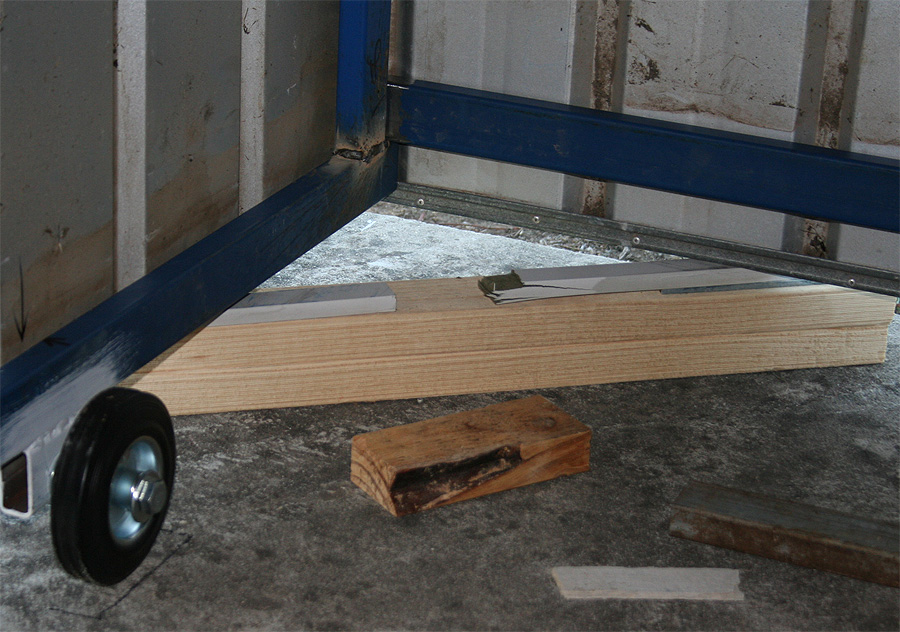
Because we laid the concrete ourselves it isn't quite level
so when we placed the floor joists they needed a bit of packing to get them all level:
Then we made a hardwood Door Sill slightly angled down for rain run-off:
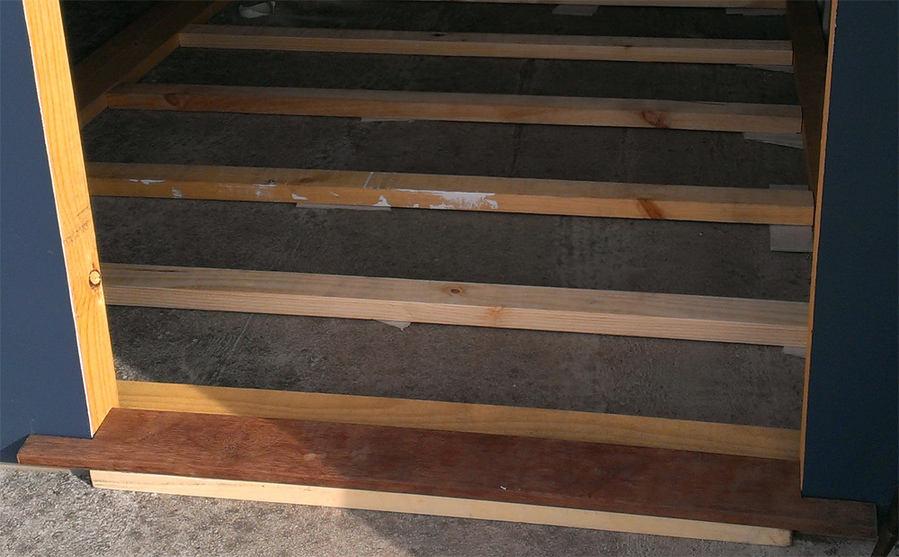
The finished floor with 19mm Tongue & Groove Flooring boards:
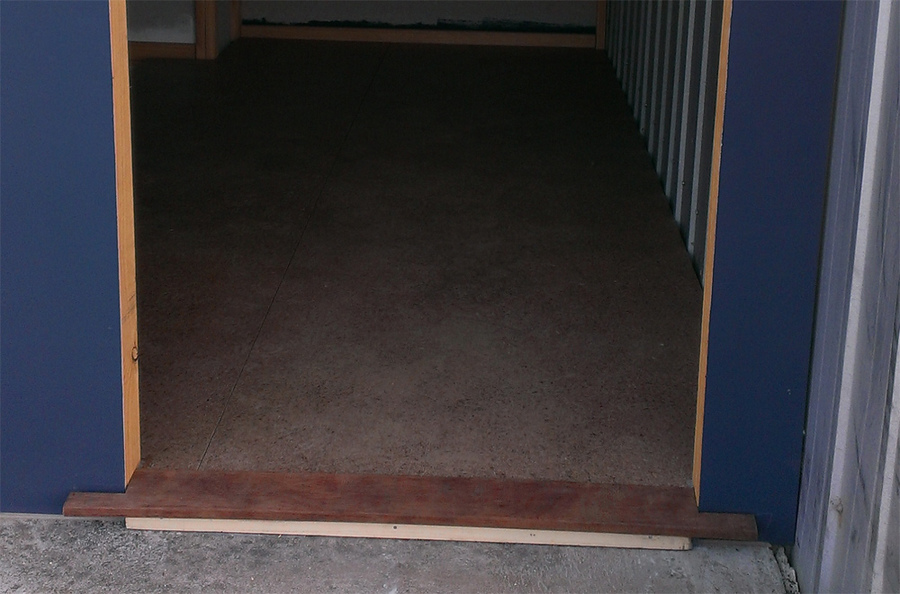
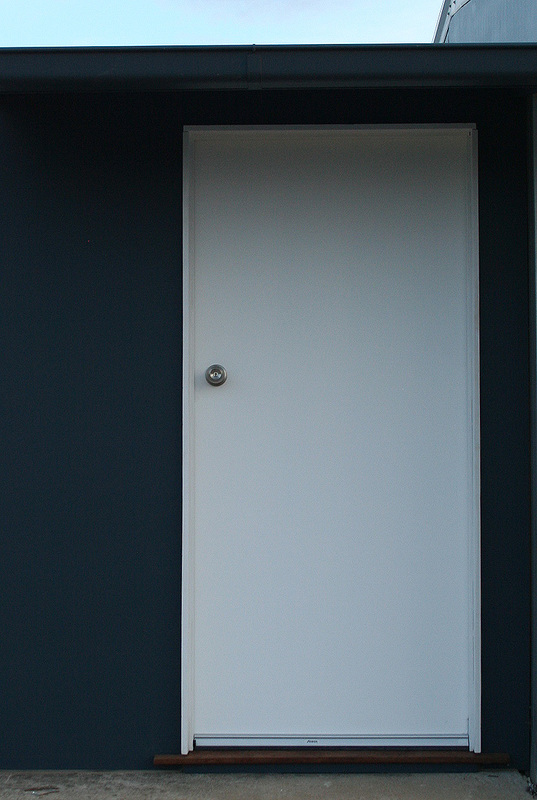
adding a door and lock now completes the exterior construction of the Control Room section:
23rd April 2016
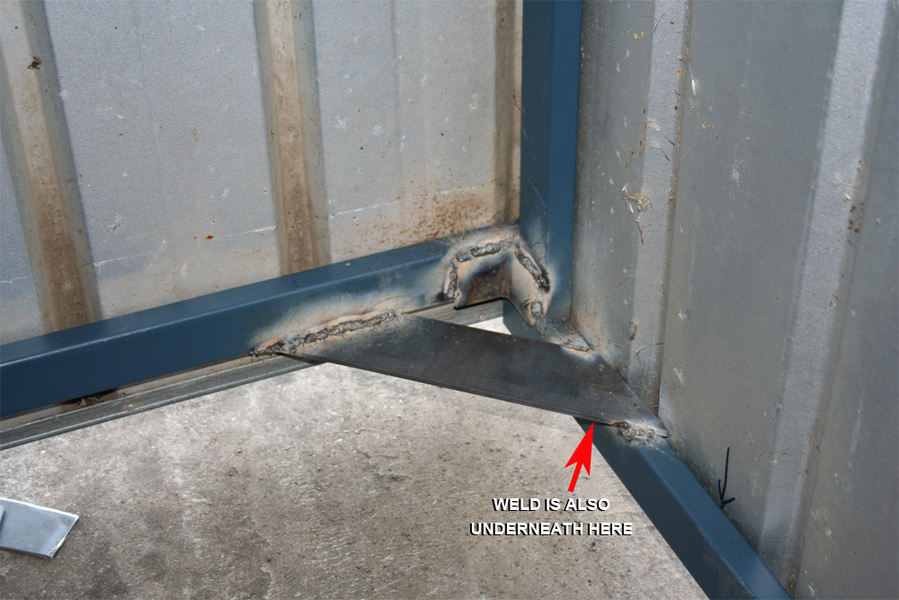
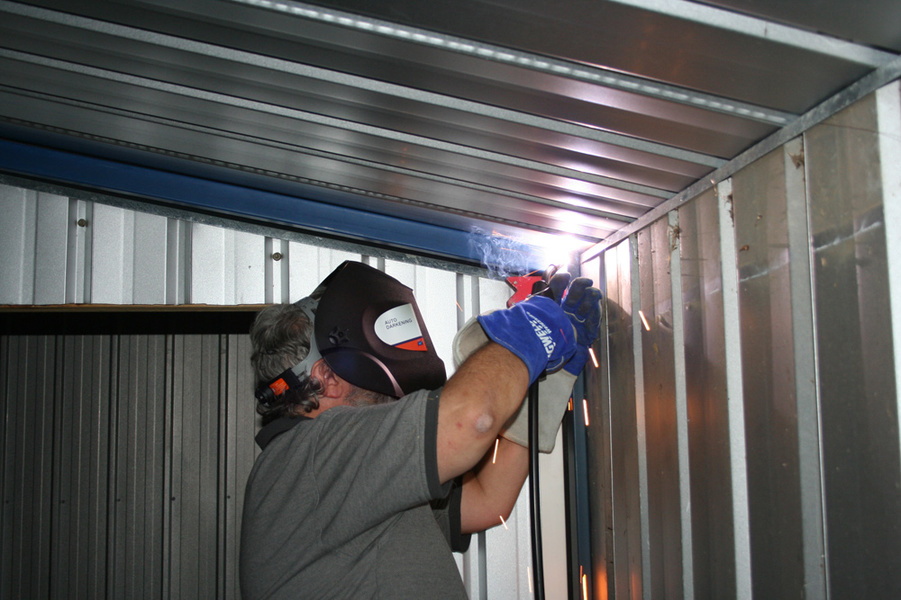
Tim welds the inside corners of the Roll-Away section together,
a thick steel plate is added to keep the frame square:
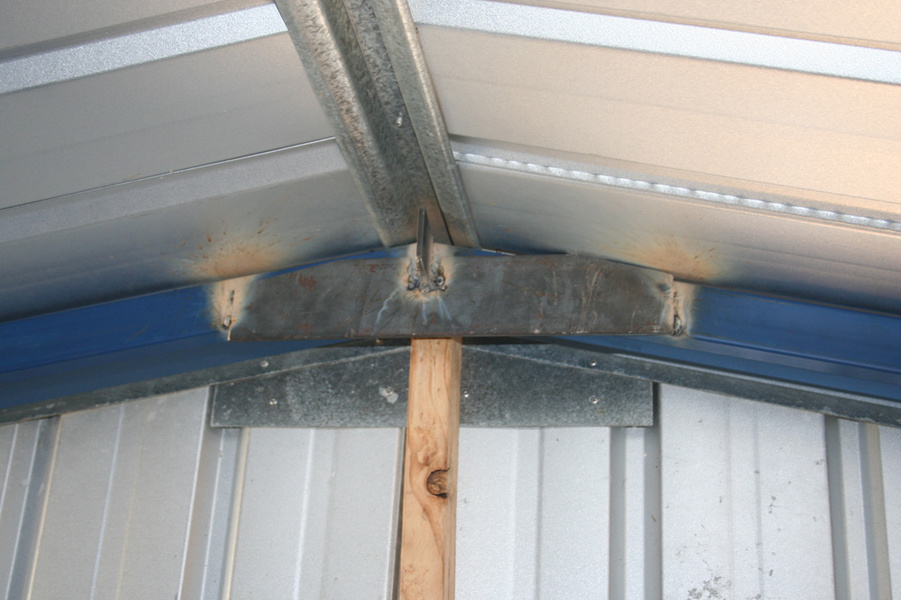
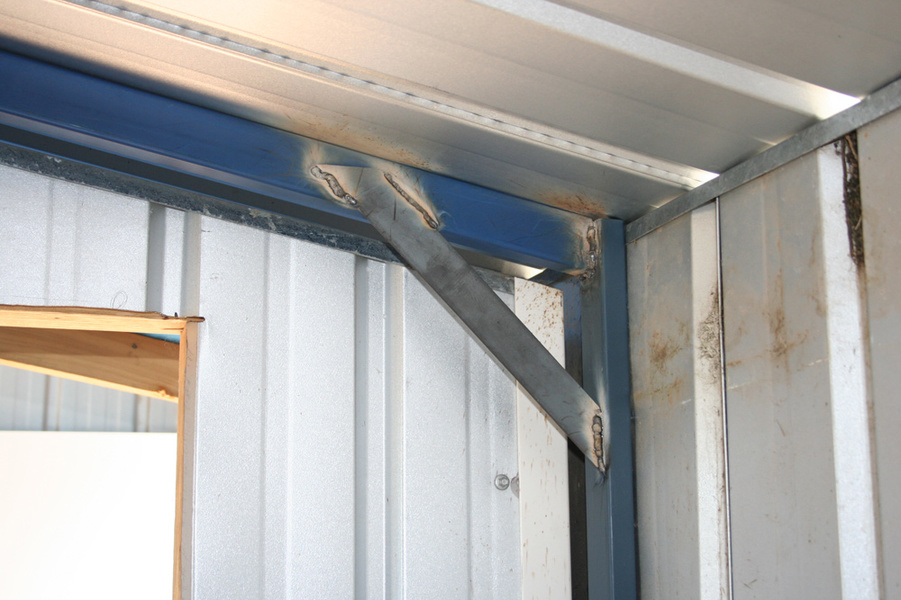
Now to weld up a frame to support the open ended roof.
25th April 2016
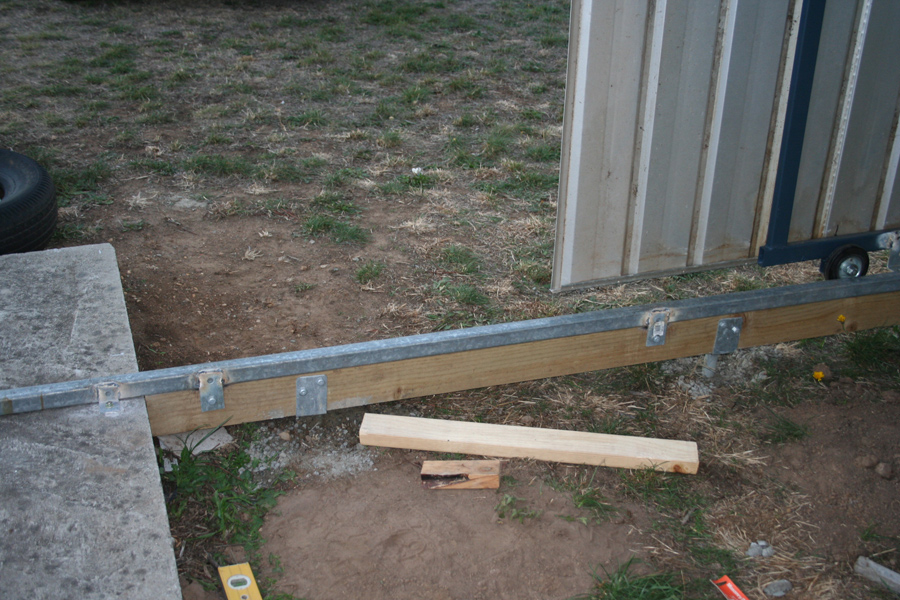
Time to lay down the track.
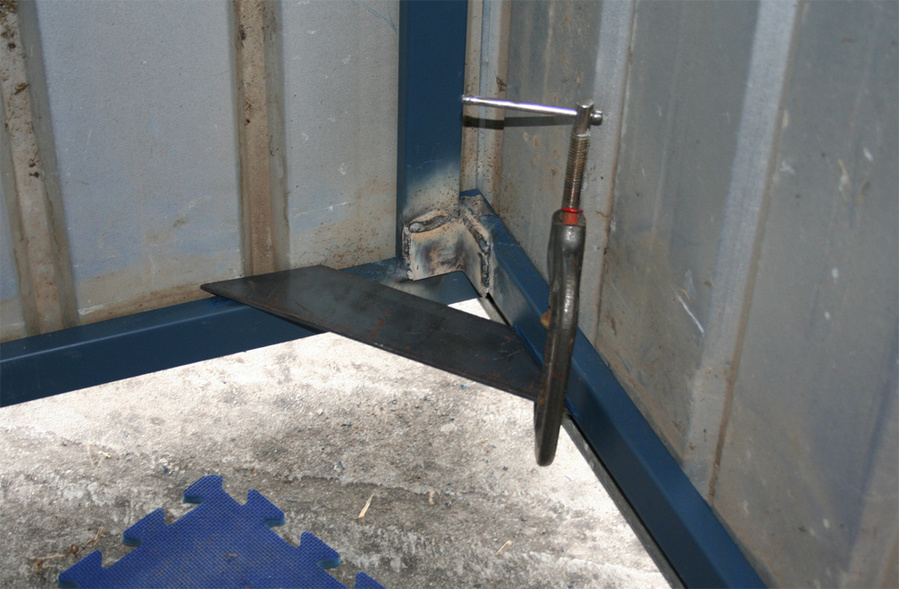
First step is to weld track bracket into place on one end and bolt it down:
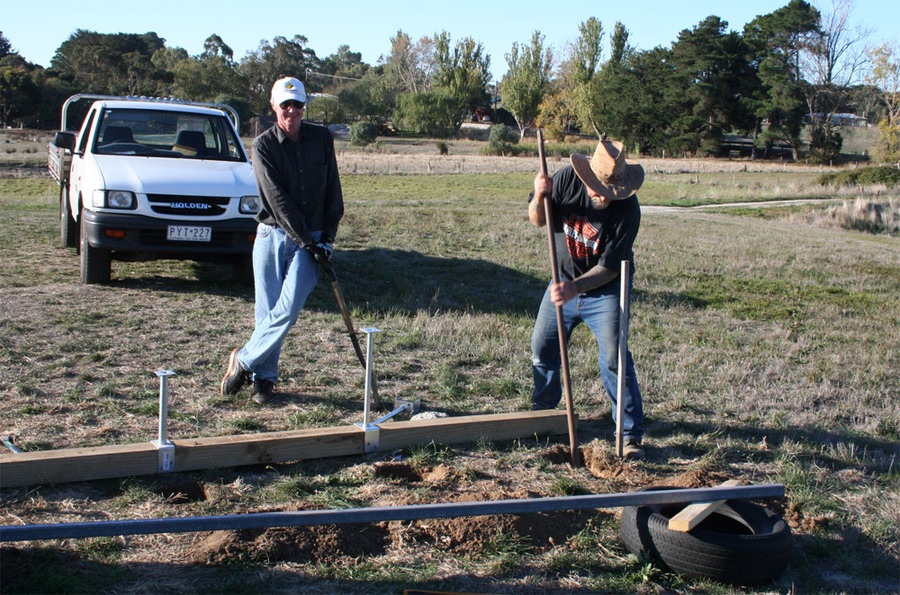
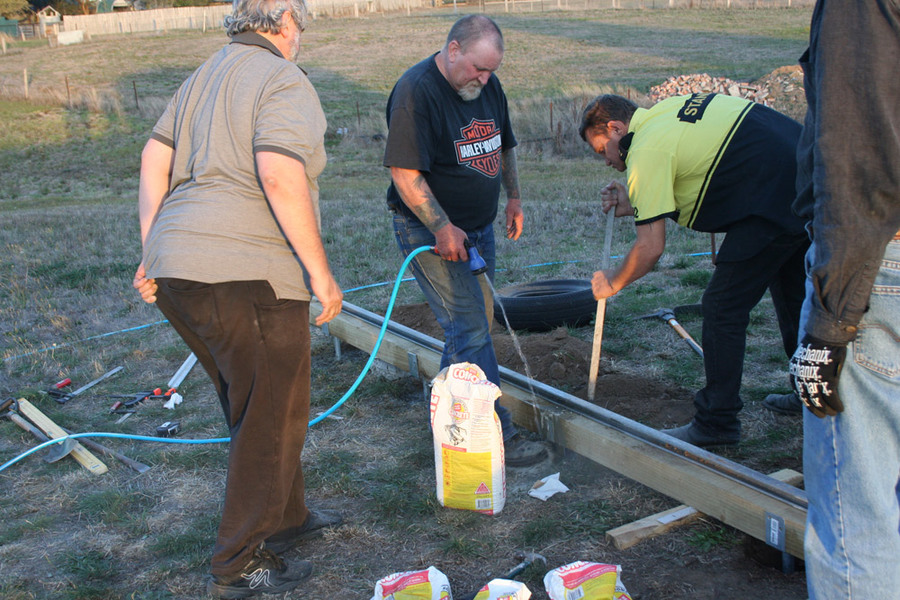
Now the track gets set up outside:

Ken digs the holes for the track support Stirrups
Barry keeps an eye on the job:
Barry attaches the stirrups:
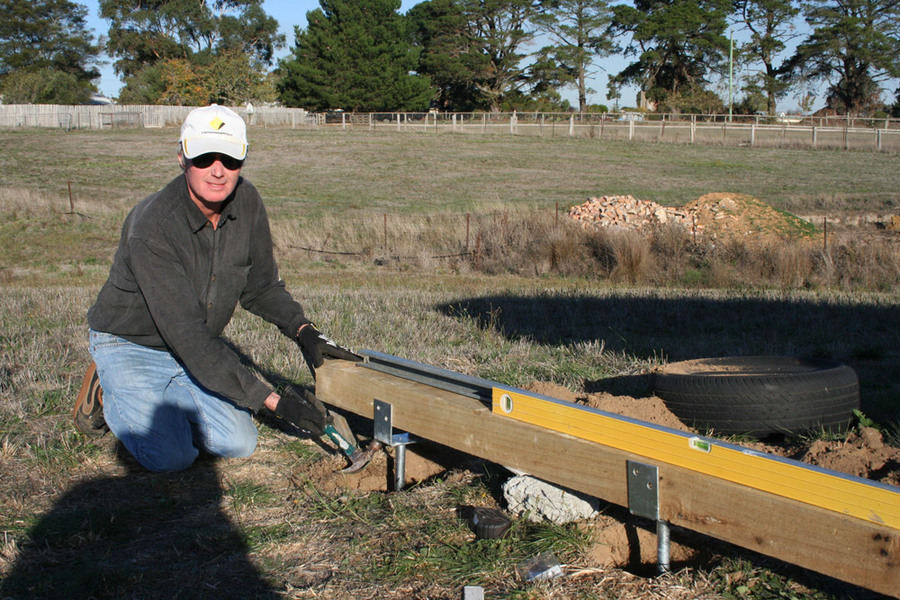
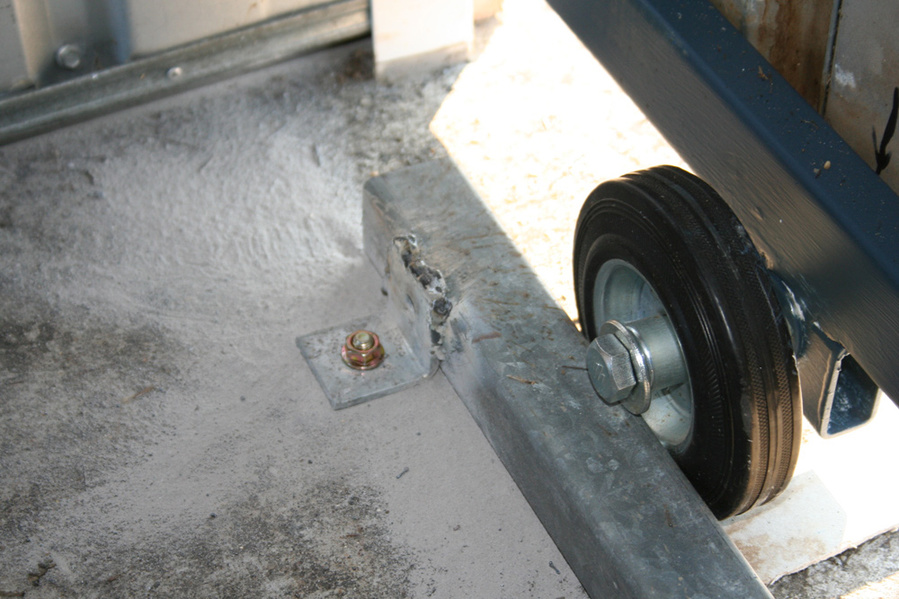
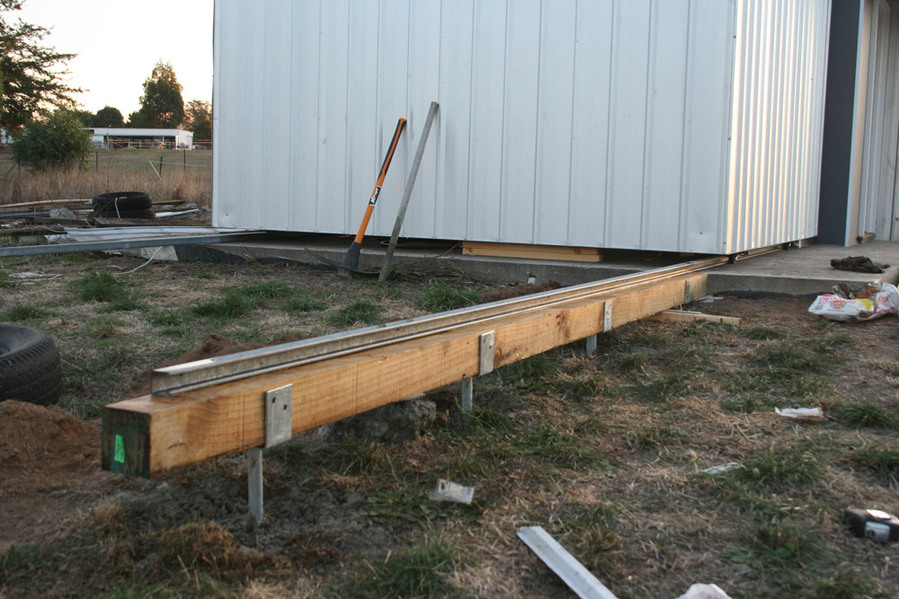
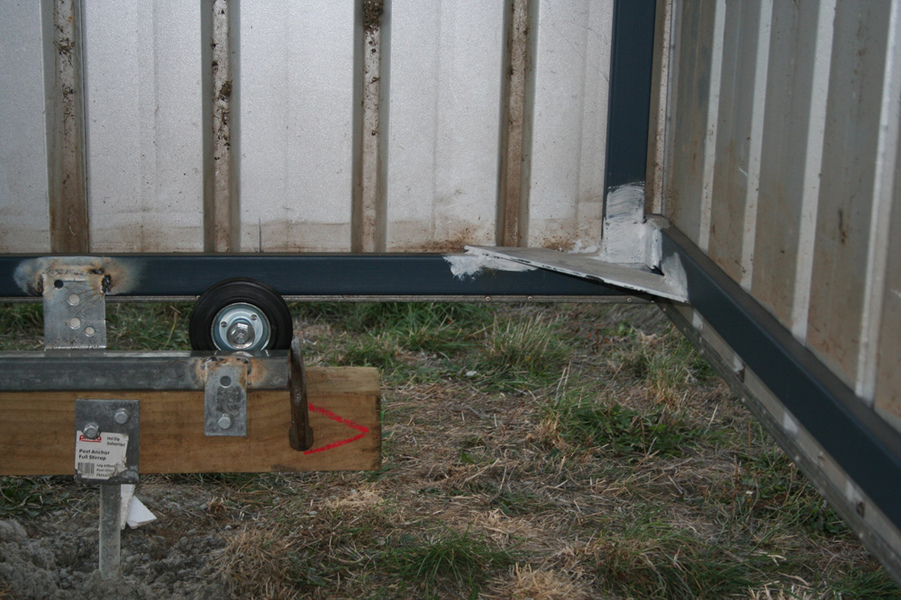
Here you can see how the track is laid on its side. The hold-down brackets will run inside the channel to
prevent the wind from lifting the shed and the wall from moving outwards:
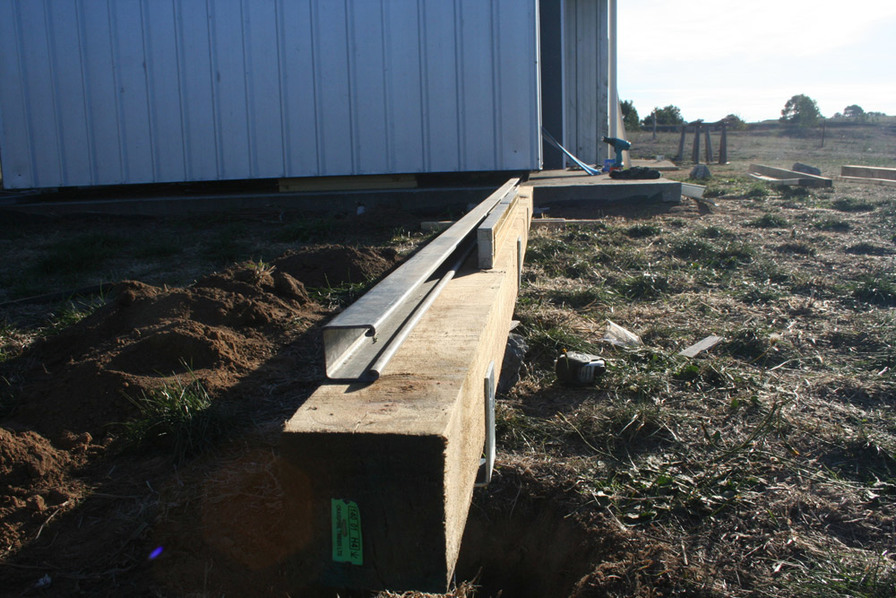
Now to concrete the whole lot in. Here's the concreting party made up of Tim, Ken, Glenn and Barry:
That's one track done:
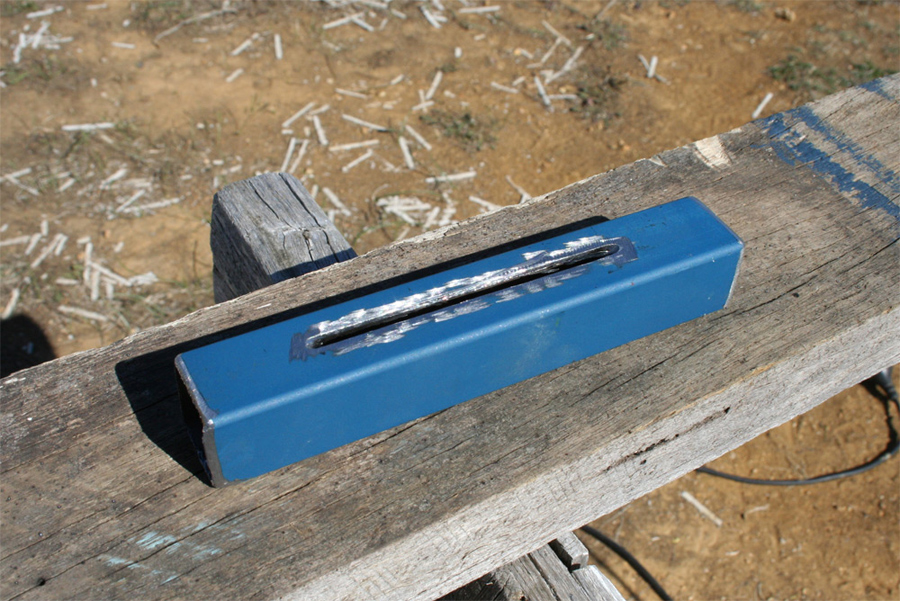
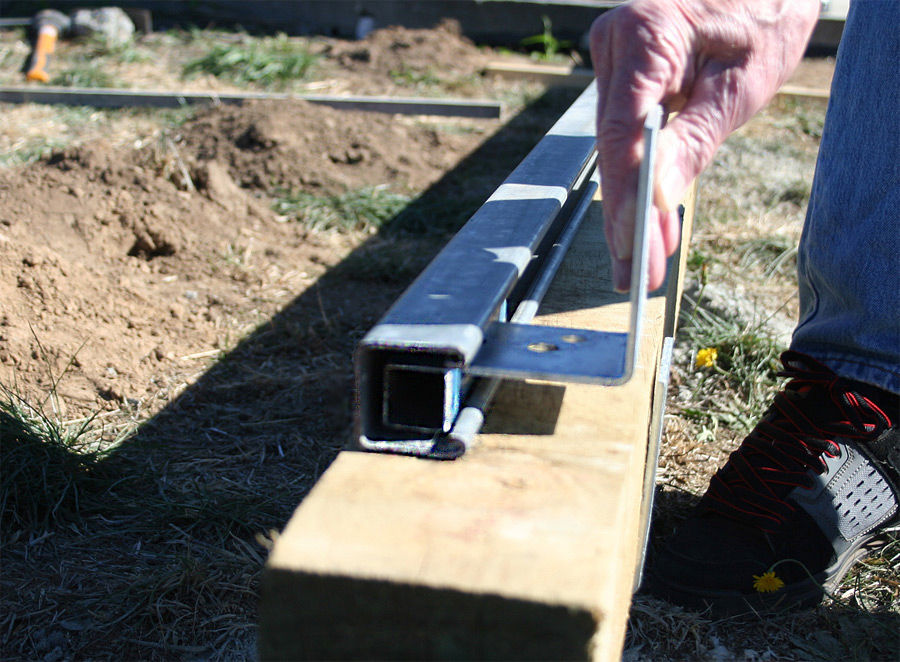
After the second track gets done it's time to construct the Hold-down brackets so the Roll-Away shed doesn't blow
away or the walls move outwards (this will explain why the track is laid on its side):
20mm x 20mm box tube steel slotted to take an angle bracket::
4mm thick Angle bracket welded into slot:
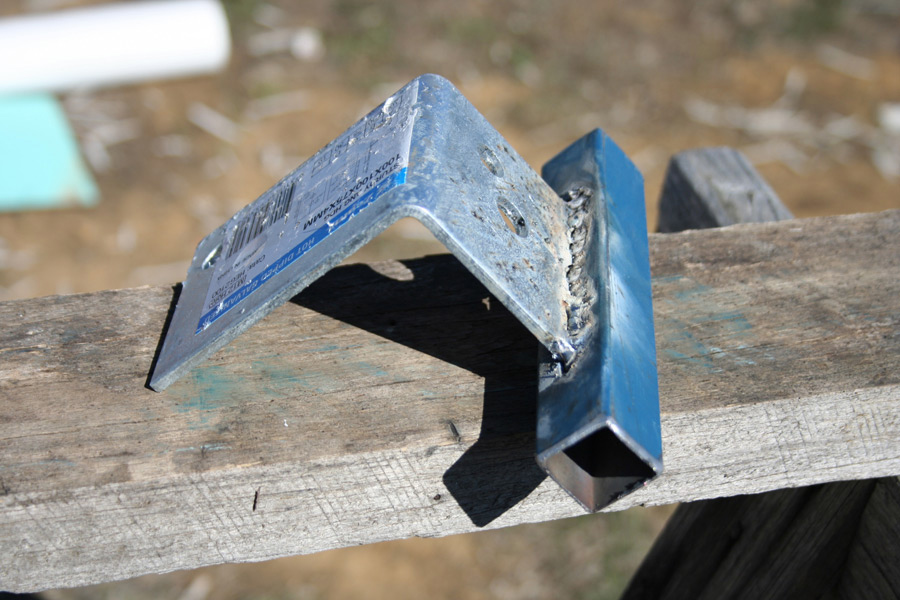
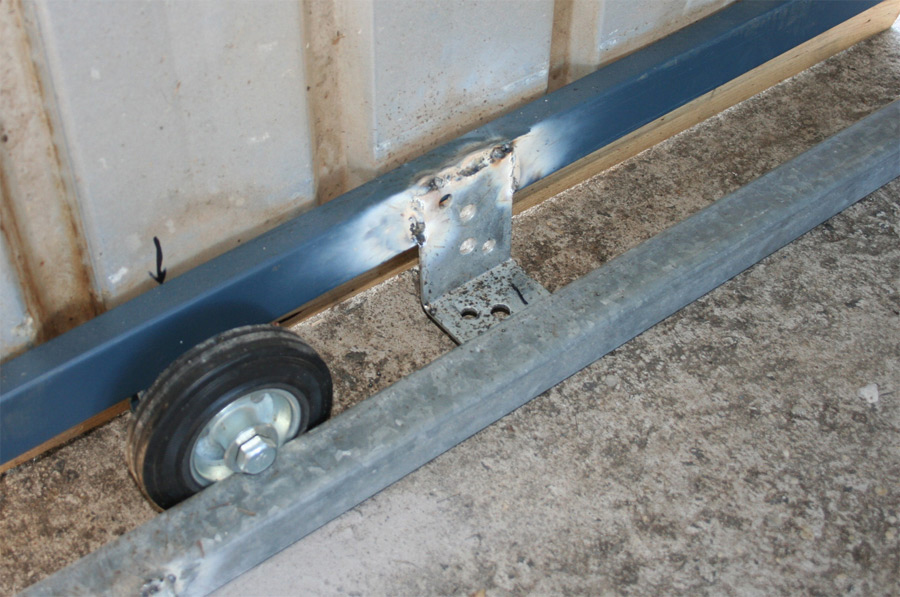
Here you can see how the hold-down bracket slides into the track:
Hold-down bracket welded into place inside the roll-away shed:
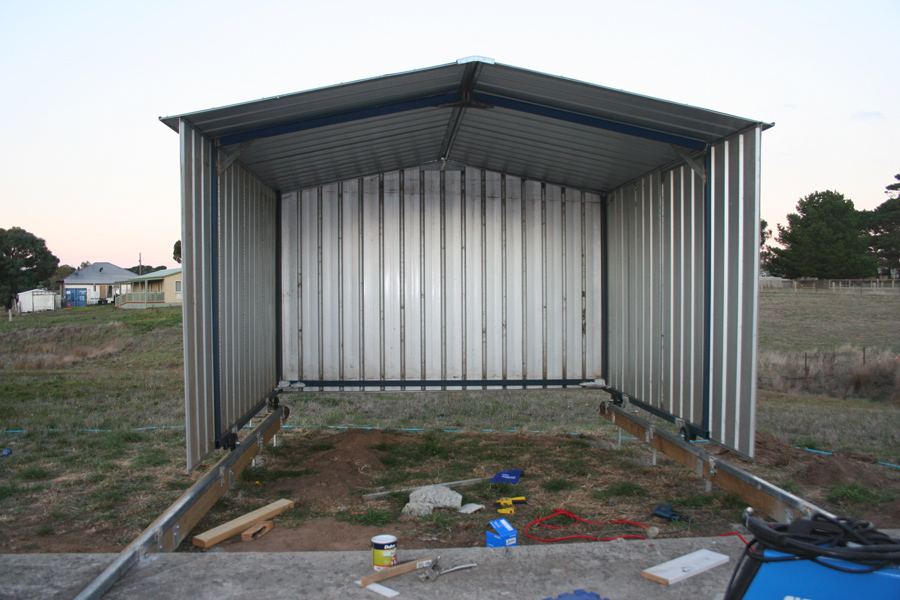
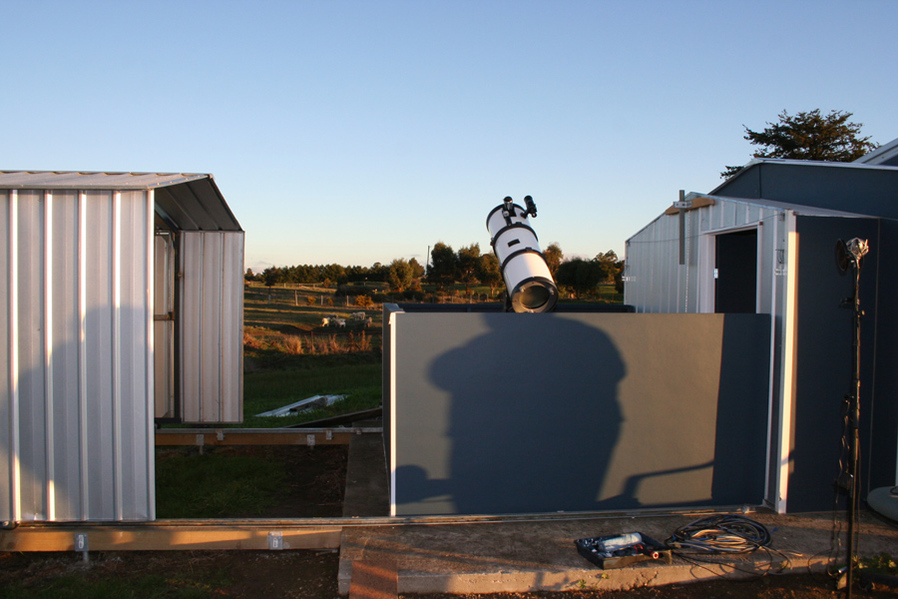
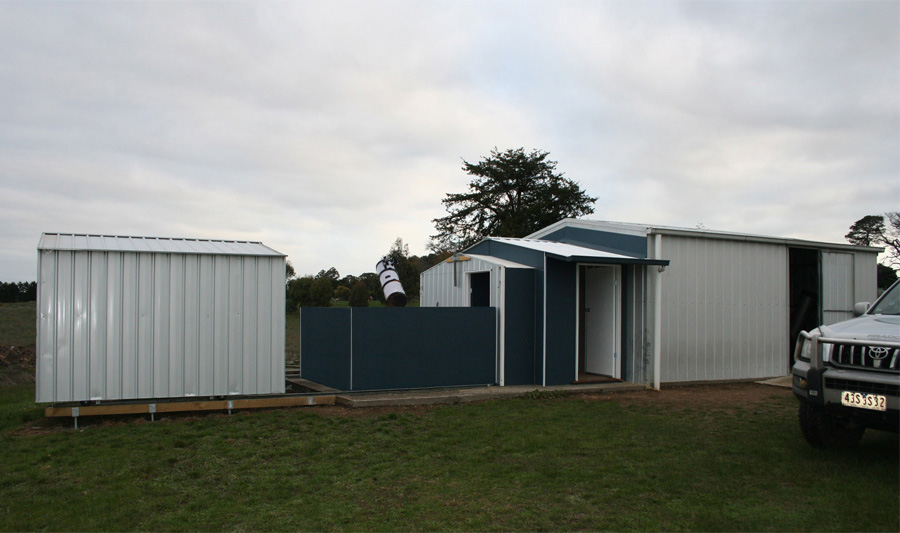
The Roll-Away section can finally roll open:
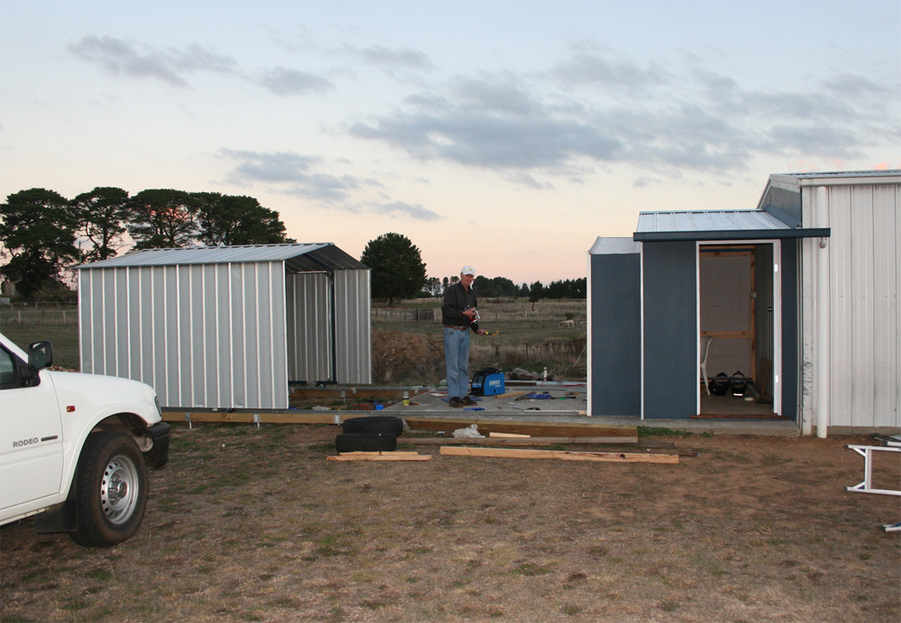
This photo is to show why we placed the wheels so far in from the end of the shed.
So the shed can go further back than the length of the track:
which allows the shed to open further for more sky to be accessible:
AND FINALLY!!! THE VERY FIRST TEST OF THE ROLL-AWAY SHED
13th June 2015
It's been over a month since we've been able to work on the Observatory due to the terrible weather we've had.
But we finally got a couple of reasonable days to get some things done.
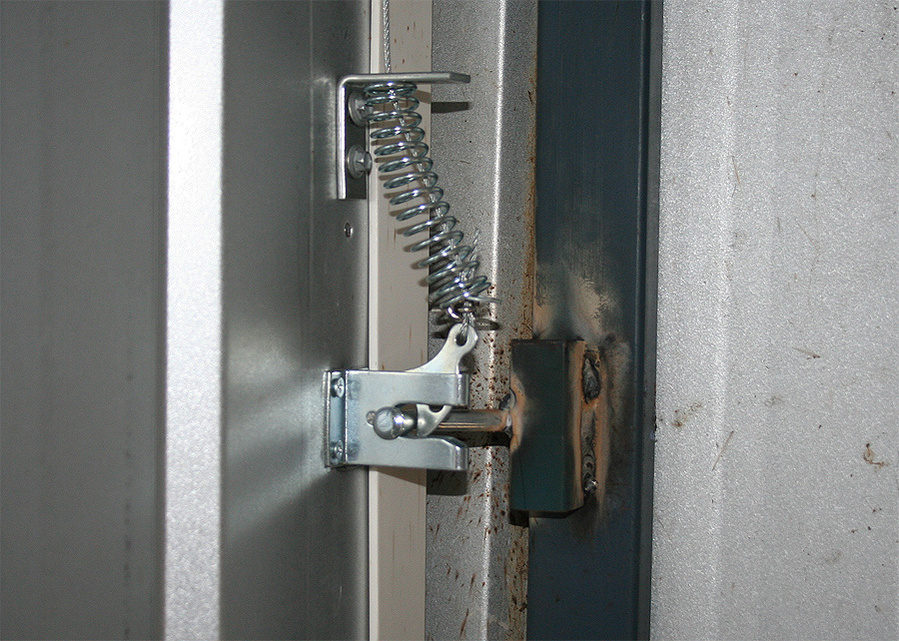
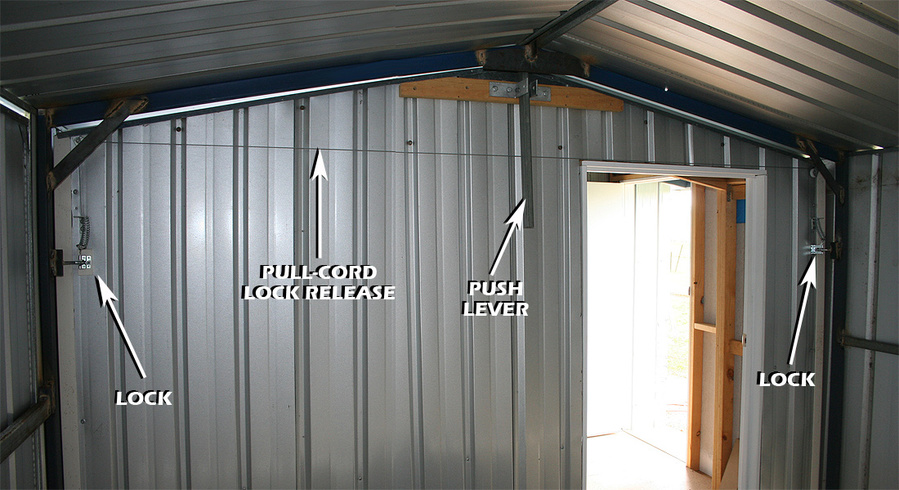
The Roll-Away shed now has an automatic locking system courtesy of 2 Gate Locks, some Stainless Steel cable,
a couple of springs, and a lever.
We placed a Gate Lock on each side. The locks are opened by pulling on the cable,
and the springs makes sure the locks shut again:
The Stainless cable runs over Rollers:
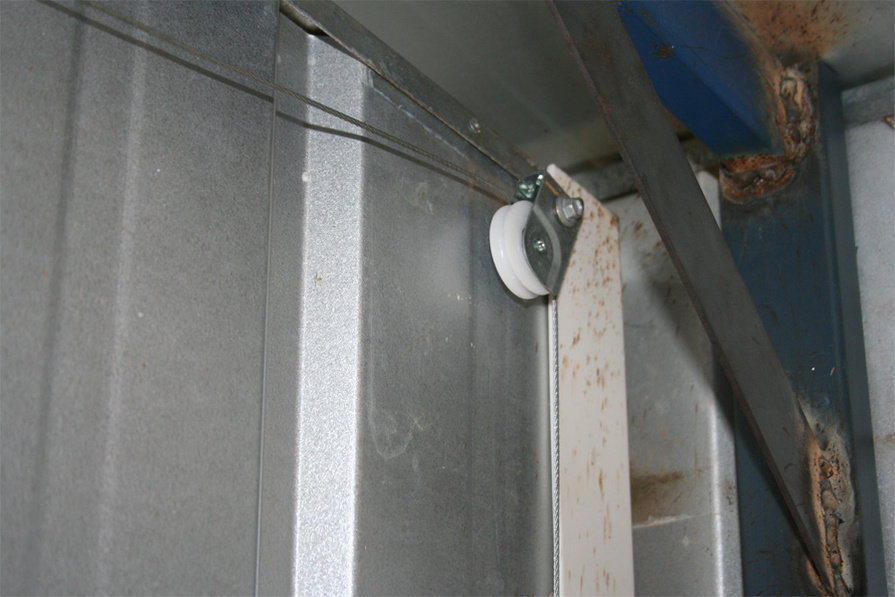
To assist in moving the shed out of the locks, a lever it fitted:
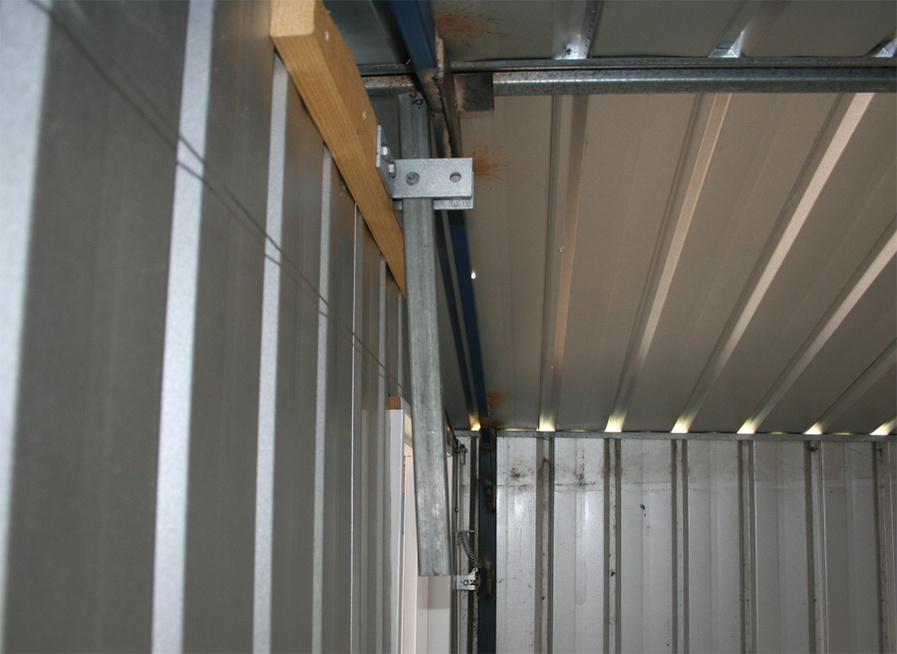
This is the whole system:
It works very easy, and so you can see how it works, here's a quick video demonstration:
14th June 2016
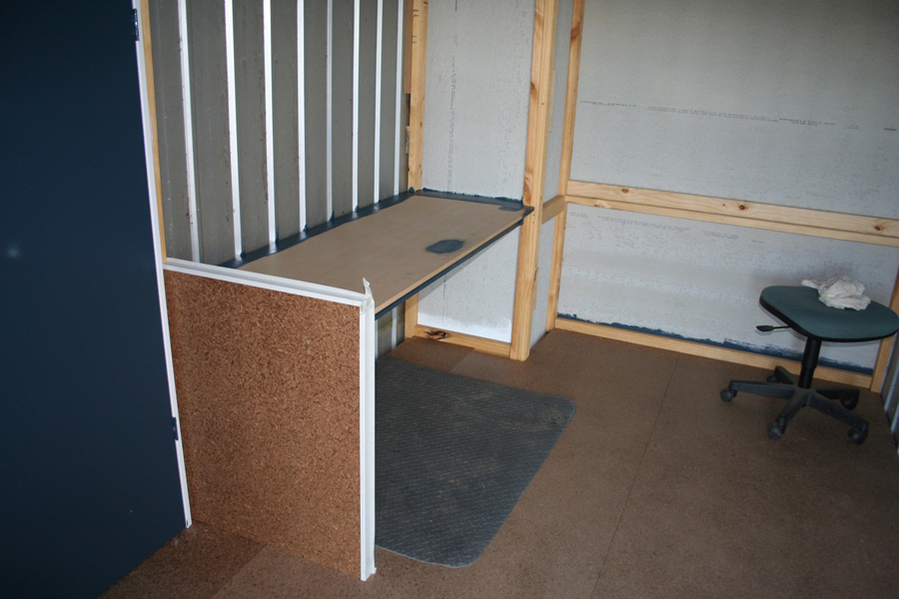
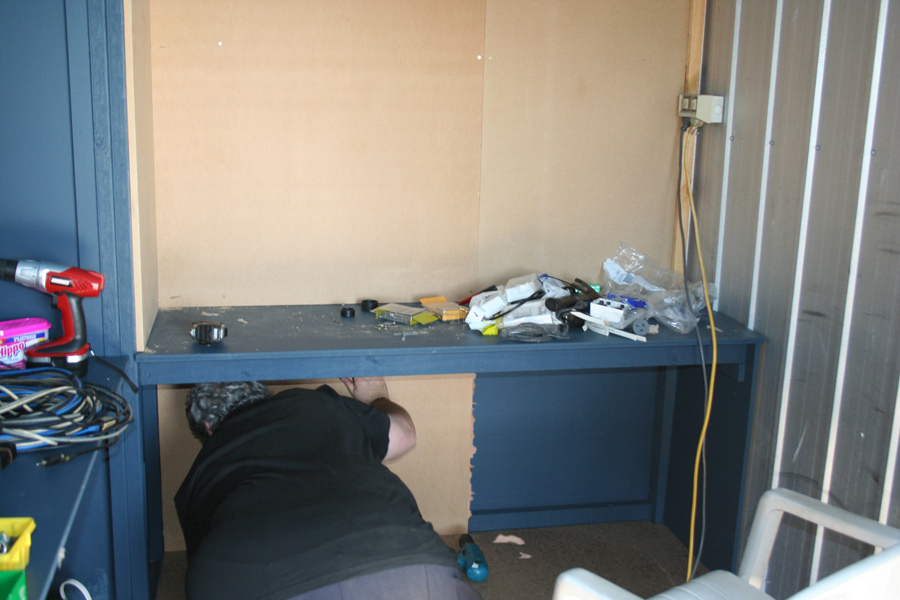
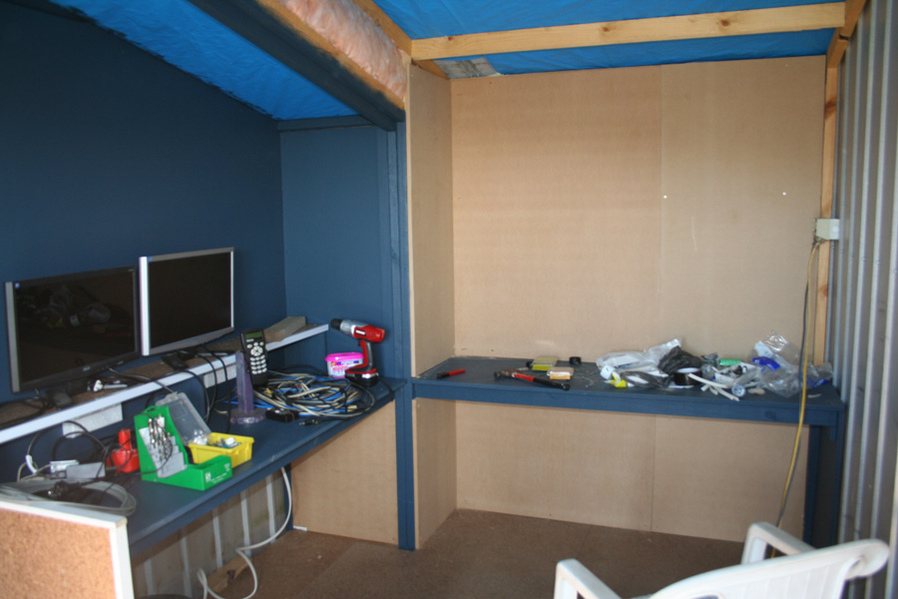
This time we are back inside the Control Room. A door is added between the Control Room and the Observatory,
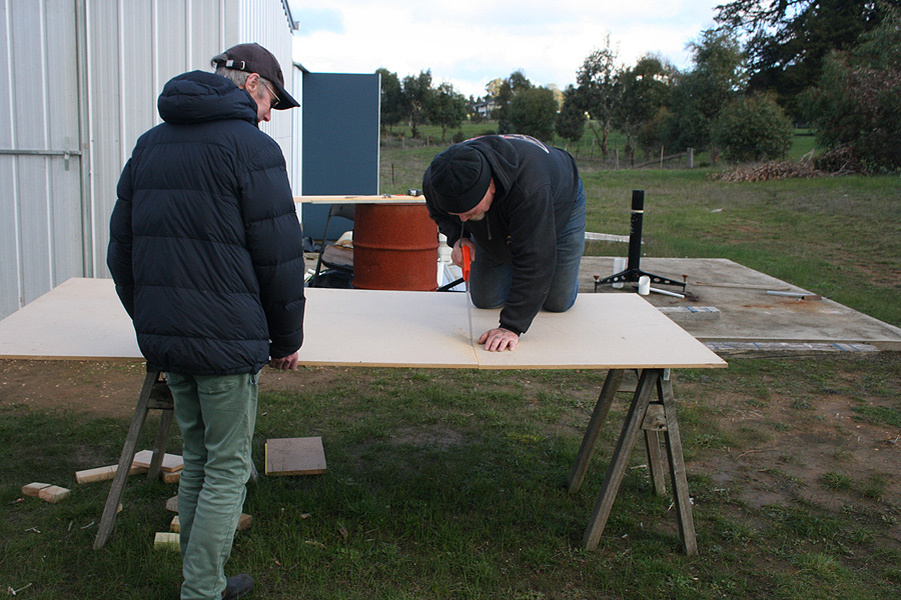
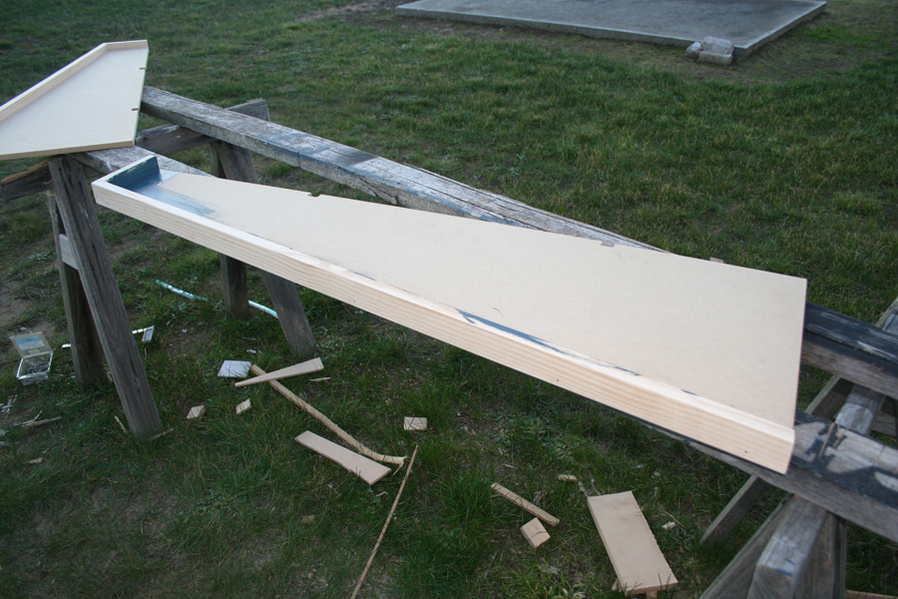
and construction of the desks commences. The desks are MDF with a Pine frame (and chipboard side)

2nd July 2016
After weeks of rain, hail, damaging winds, and even snow, we finally managed to get more done this weekend.
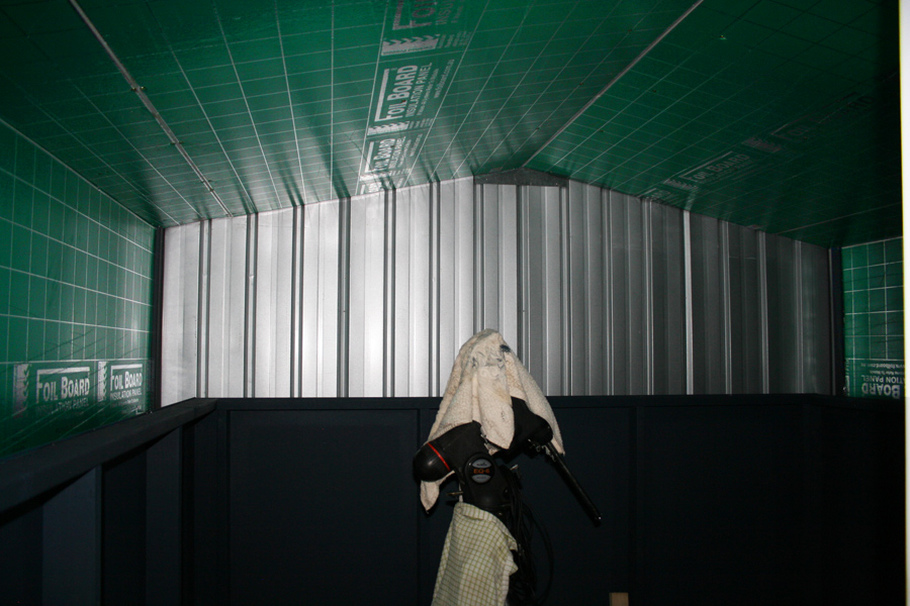
We built the internal false walls of the Roll-Away section. It is only 1200mm (4 feet) high to give a low level view of the north and south, and will later get a hinged fold-up/down extension to block any wind, if needed. It will raise the wall height another 300mm (12 inches).
The wall also prevents people walking into the Telescopes in the dark when the observatory is open
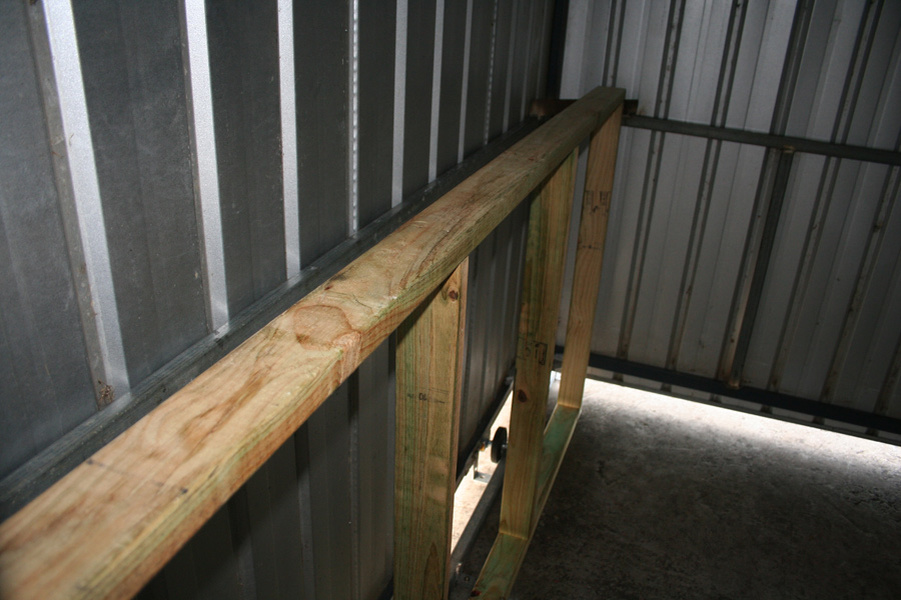
The floor space with the internal walls installed is 2400 x 2200mm (8' x 7'3")
This part has now completed the Observatory section (except paint).
The next section to finish is the insulation in the Control Room, and wiring in the Electrical points.
9th July 2016
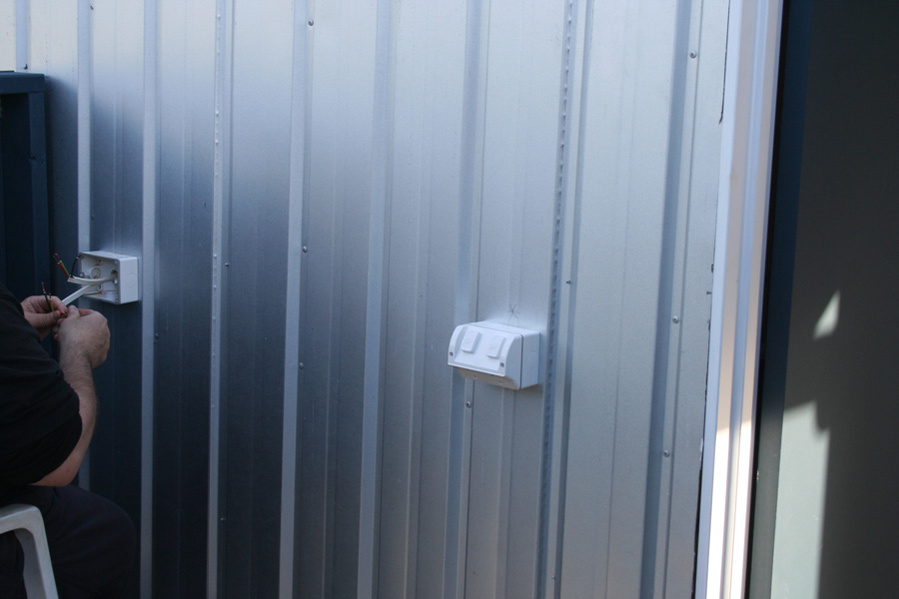
The electrician weaved his electric stick and we now have Mains power to the control desks:
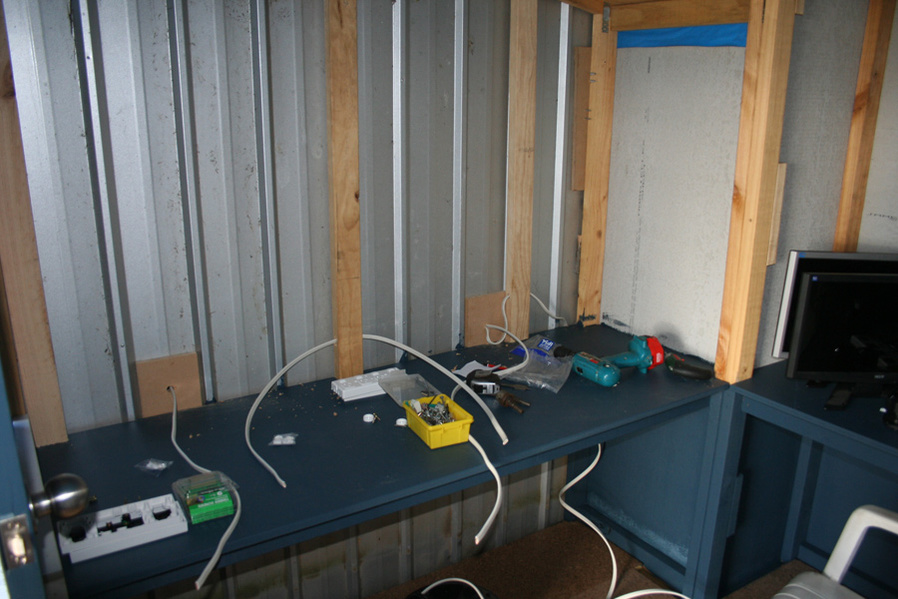
More Mains Power Points fitted outside in the Observatory
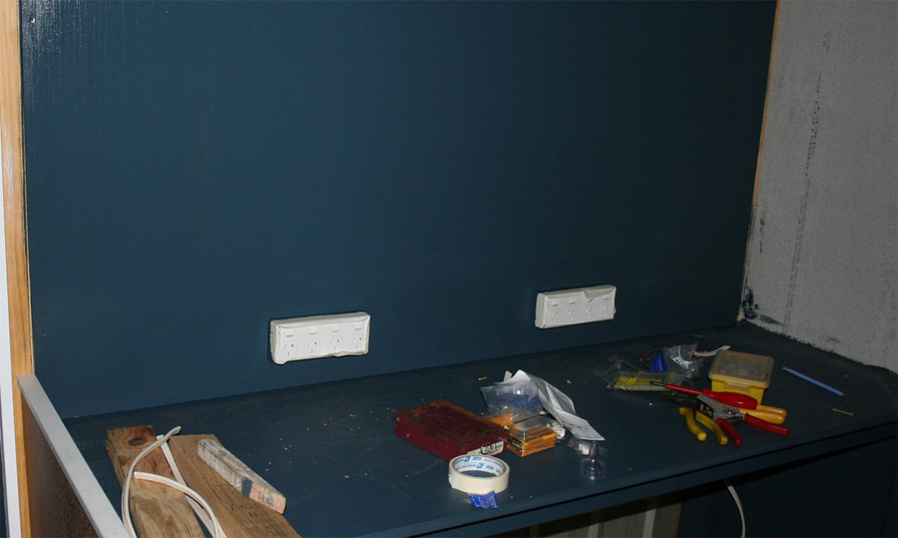
Ken cuts the internal wall sheets (Tim thought Ken's cutting method was hilarious and snapped a pic of him sawing)
and we fit the wall panels so the electrician can fit the Power Points, then it gets painted:
FINALLY!!!!
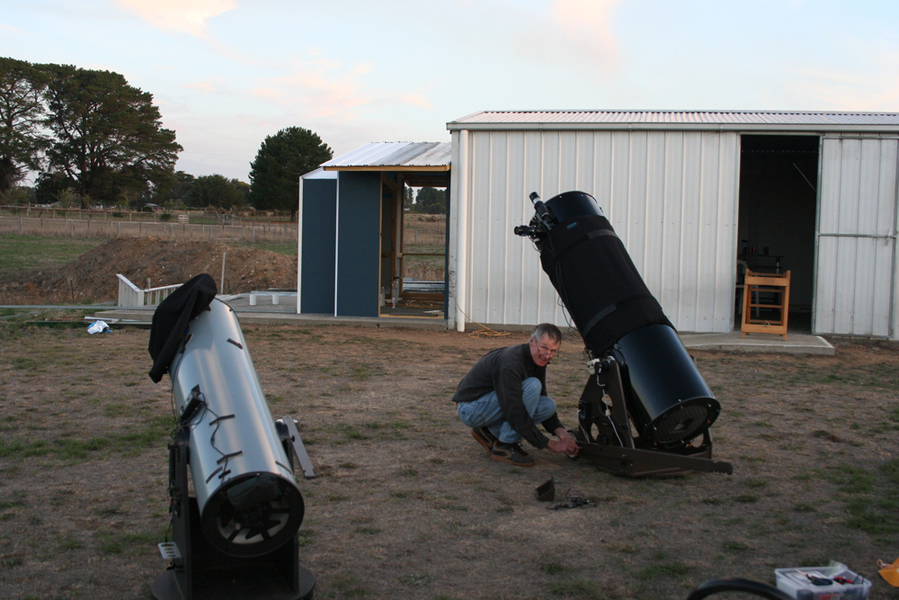
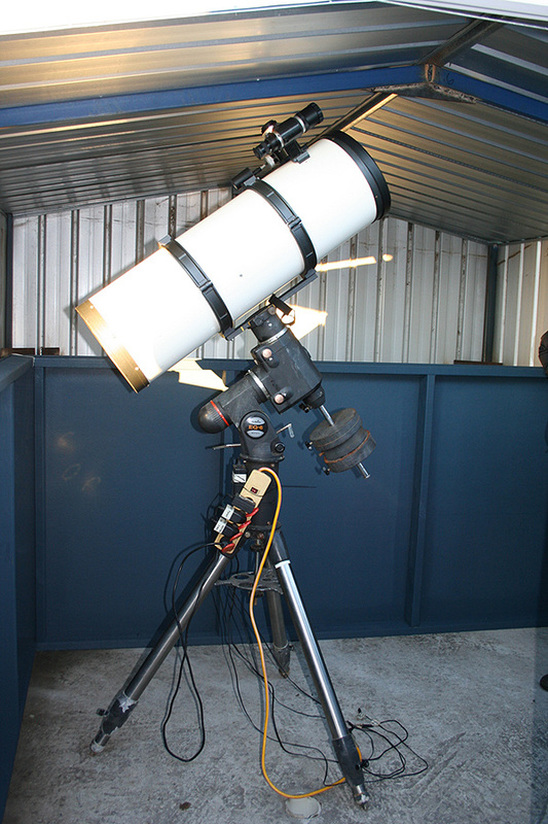
The Mount and Scope go into the Observatory.
A Skywatcher EQ6 (Orion Atlas) and Meade SN10 Astrograph, and it only takes up half the space,
leaving the other half available for another setup
18th July 2016
Here's why we haven't done much lately (yes, it snows in Australia):
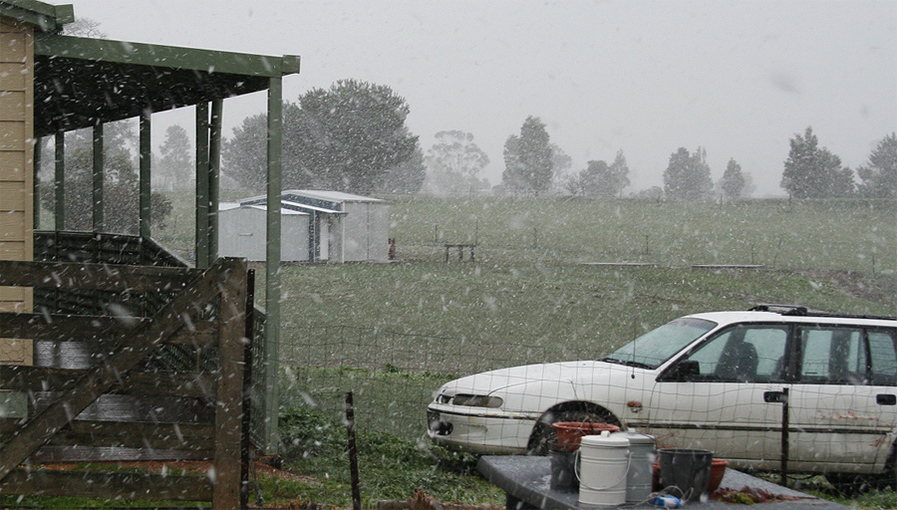
and even though it's still cold we managed to get a couple of days in.
Angus, another club member, came to give Barry and Ken some assistance on Saturday,
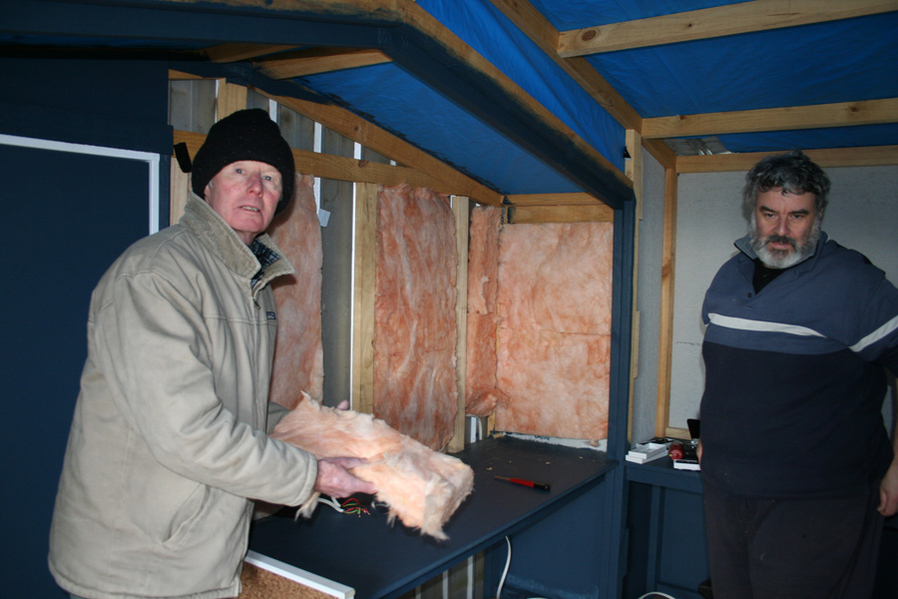
and on Sunday we spent most of the day starting to get the insulation done in the Control Room and Observatory.
Here we removed the walls in the control room so we could add the Fibreglass batts:
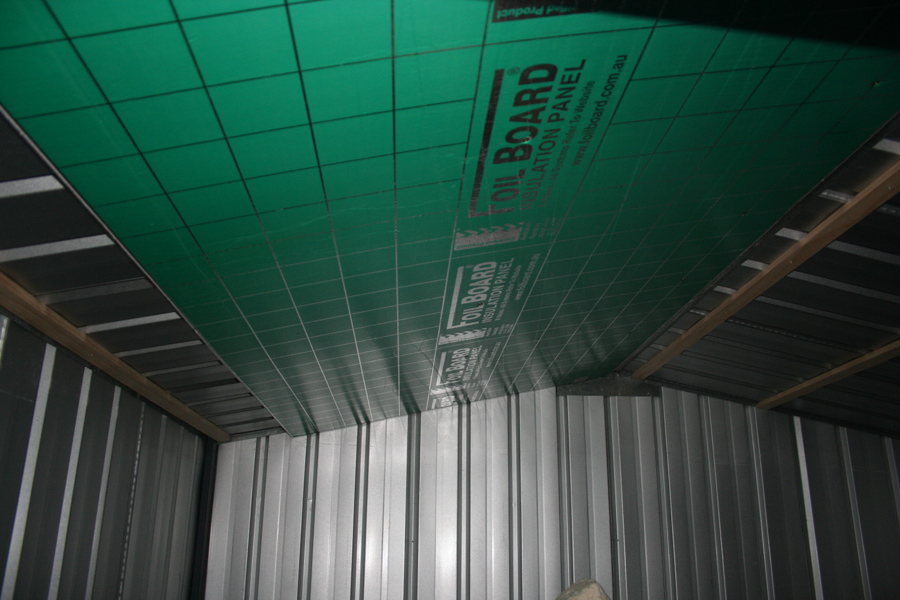
and the Observatory section is being done in 10mm Foilboard attached to wooden battens to give an air gap.
Tim patiently waiting and holding the roof panels up for Barry to drill the holes for the battens:
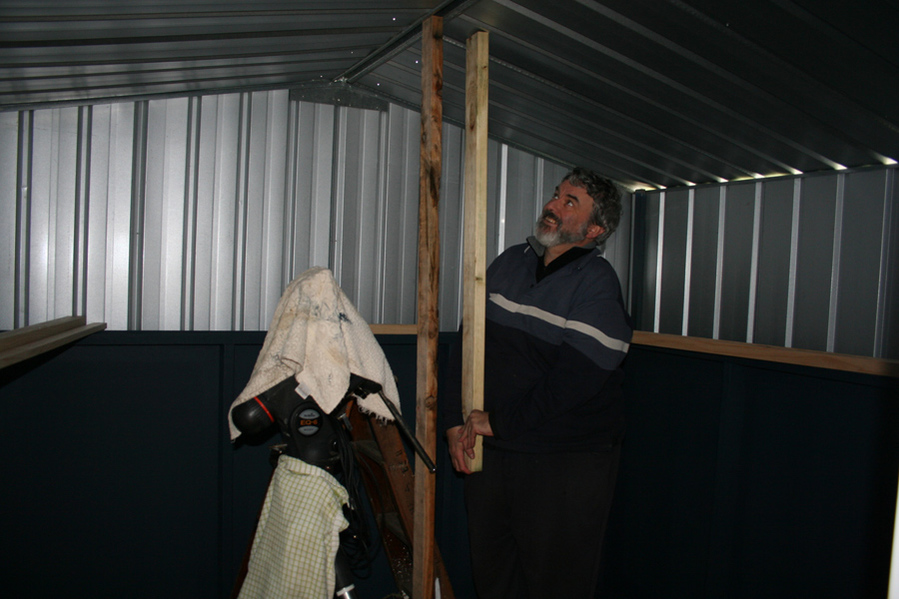
Now the Battens are up, the Foilboard gets screwed and glued to them:
31st July 2016
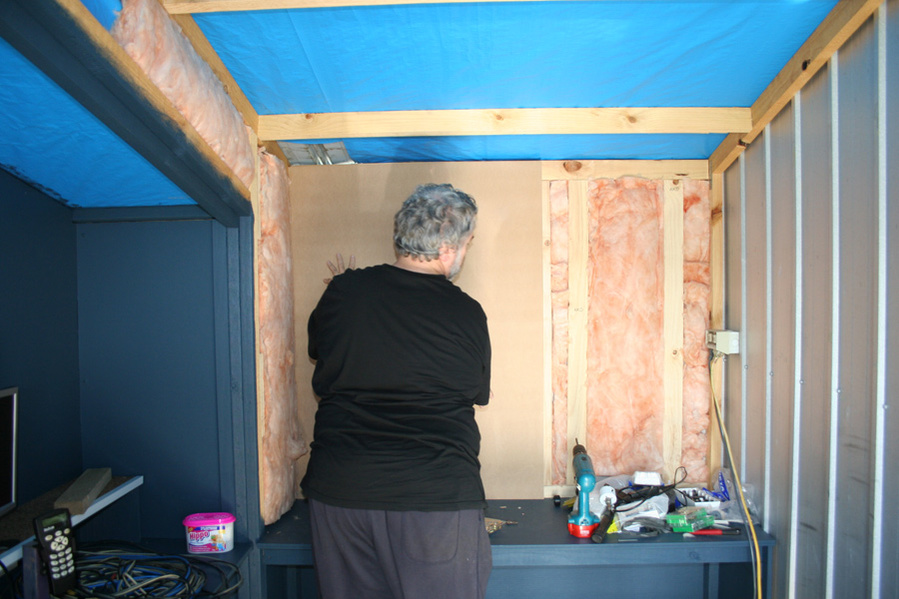
A whole clear sunny day between downpours, so we got some more work done today. More insulation and wall panels go up
Here's Tim fitting the insulation and screwing the wall panels up while Barry and Ken cut more panels outside:
29th August 2016
We didn't get much done for a while again. We have had rain almost every day, but we managed 2 days of better weather
so it was a mad rush to get more done because the forecast for the next 7 days is more rain
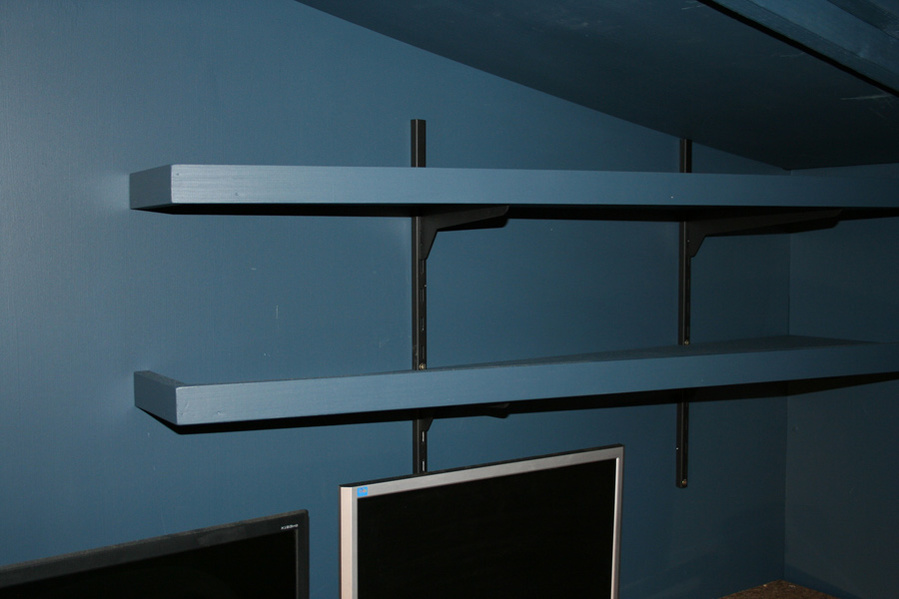
Here's the shelves going up.
Locating the brackets:
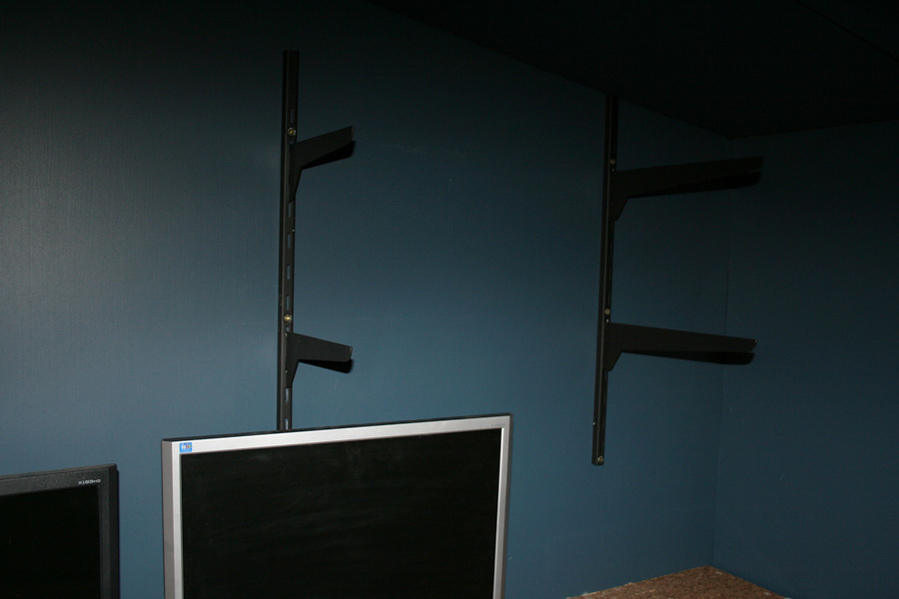
Making the shelves
Shelves fitted
Now to get stuck into finishing the insulation and MDF panels on the back wall and ceiling:
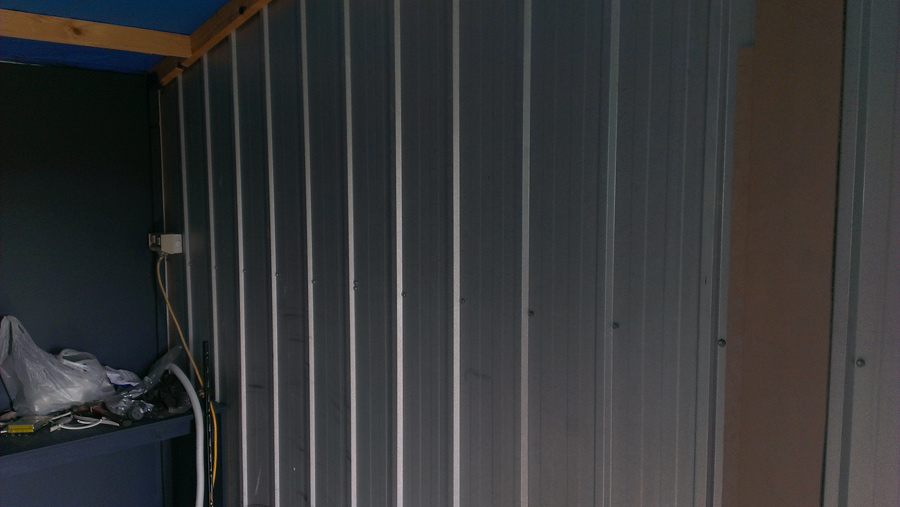
The wall panels are going to be attached directly onto the steel wall panels which was originally the outside wall of the Clubroom, but is now the inside wall of the Control room. The shape of the steel panels makes insulating hard:
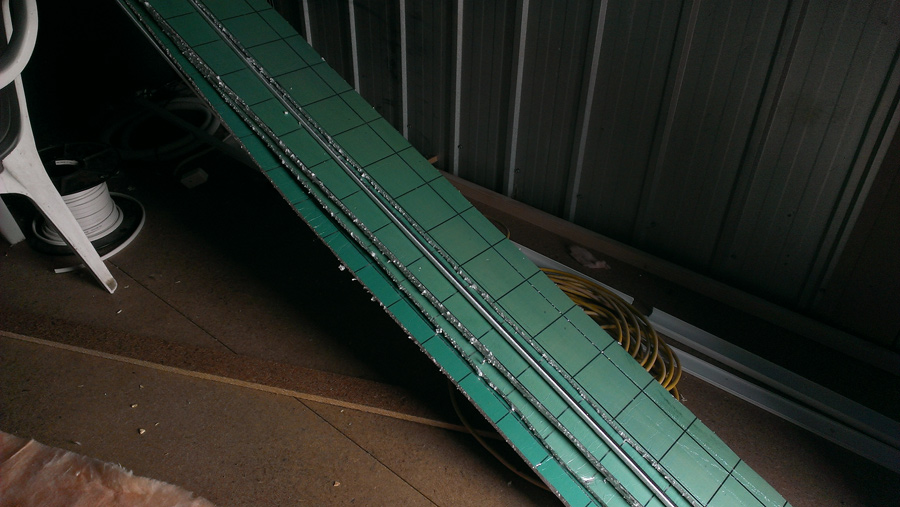
so we cut Foilboard into strips to fit between the raised bits that the MDF panels will be glued to:
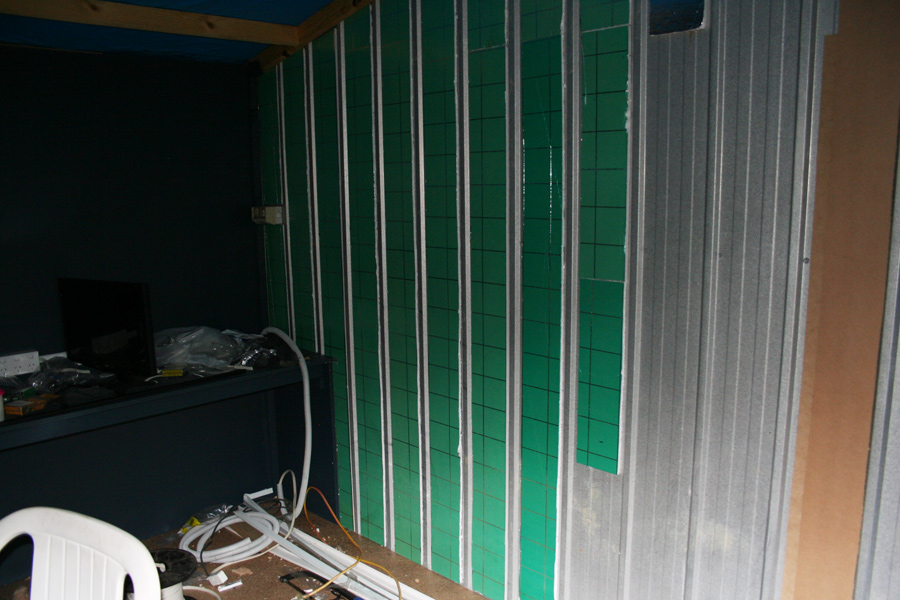
then glued them into the spaces:
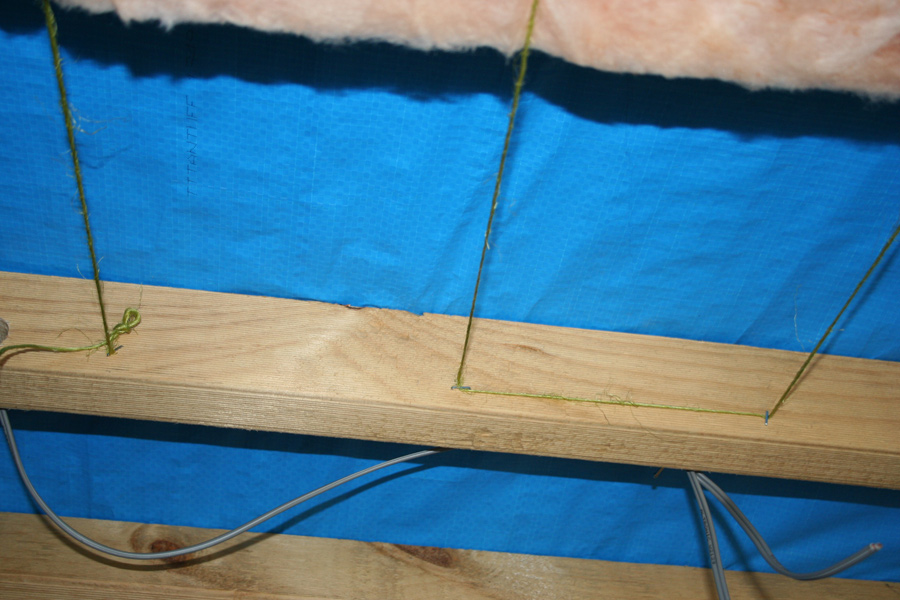
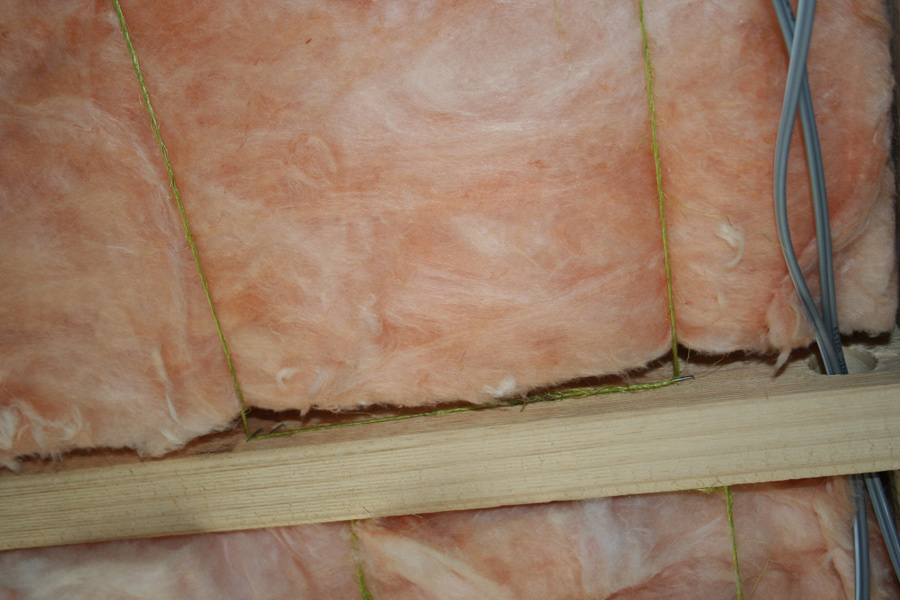
Then to the ceiling.
To hold the Insulation Batts in place until we can get the ceiling panels up we hold them in place with string attached by Staple Gun:
and up goes the ceiling panels:
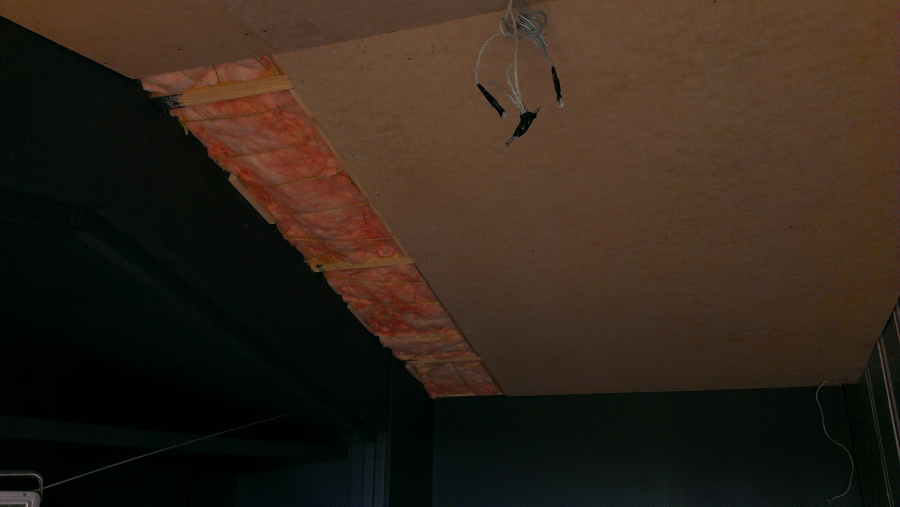
and after the back wall was also panelled,
then it all gets painted . . . .
FINISHED!
1st October 2016
Even though the Observatory is finished, today we spent a few hours finishing up a couple of minor things
like lights, extra power points, and getting everything working. Everything worked great!
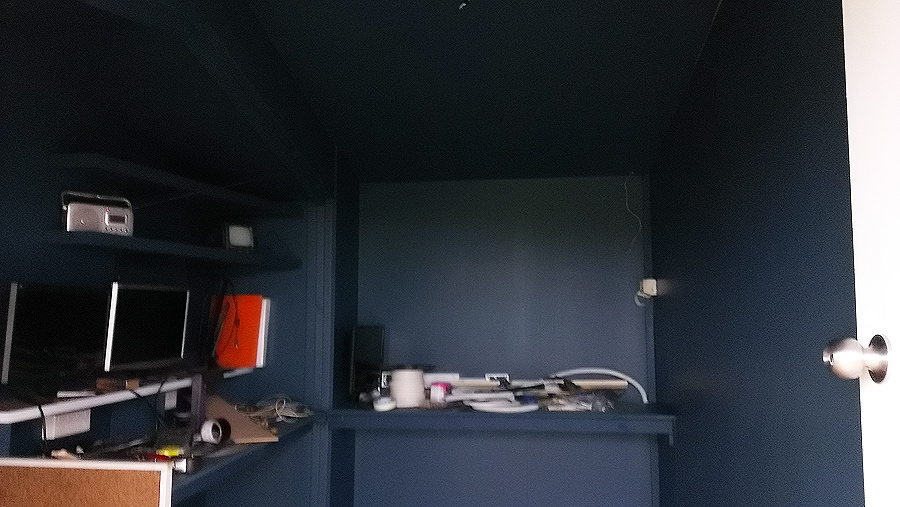
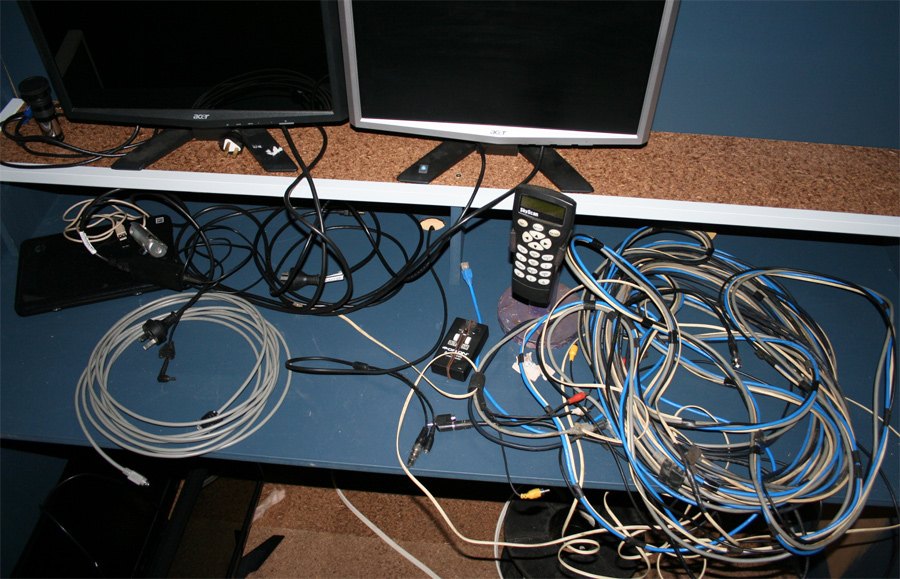
The cable tangle has now gone from this:
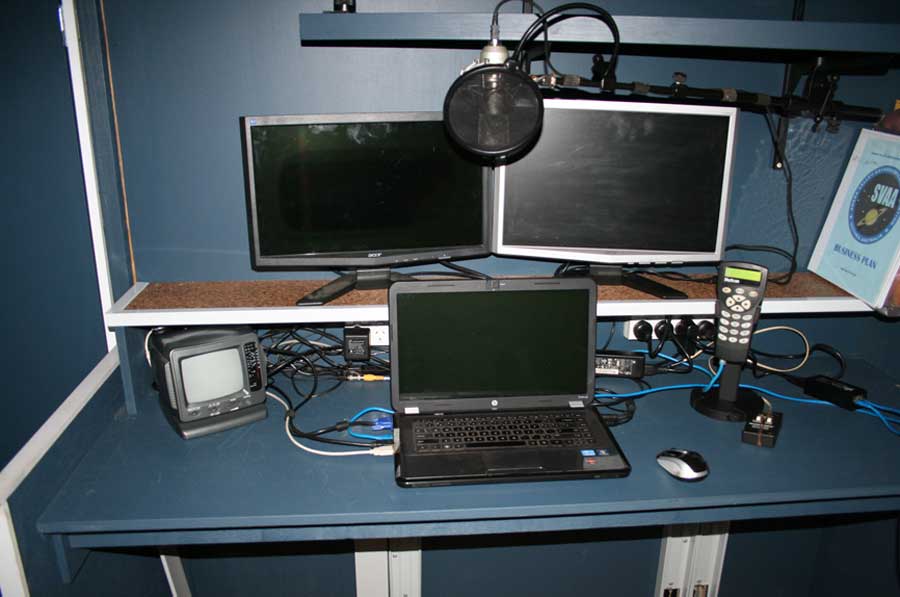
To this:
The cable duct under the desk:
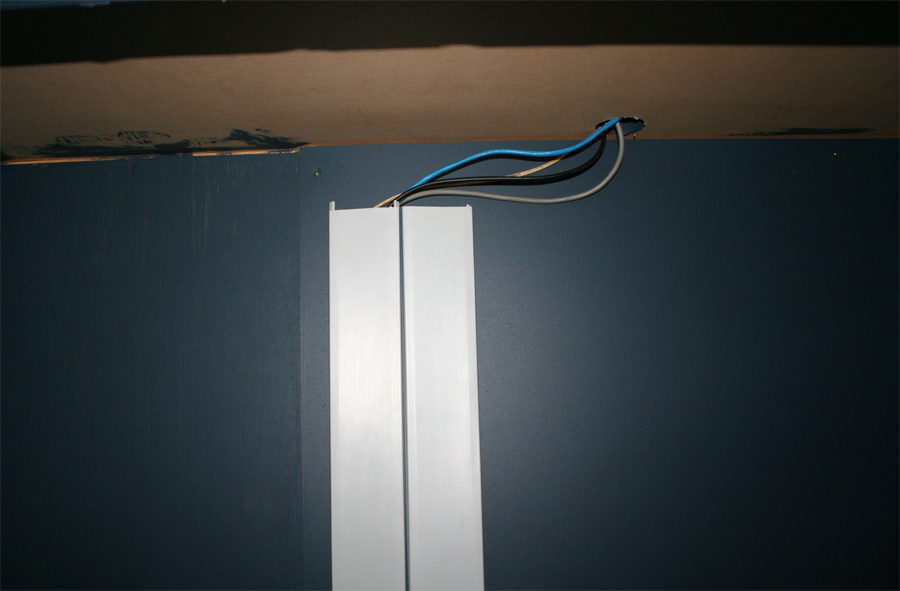
then the cables go through the wall and carry on to the Mount in another cable duct recessed into an
angled wooden channel to prevent tripping:
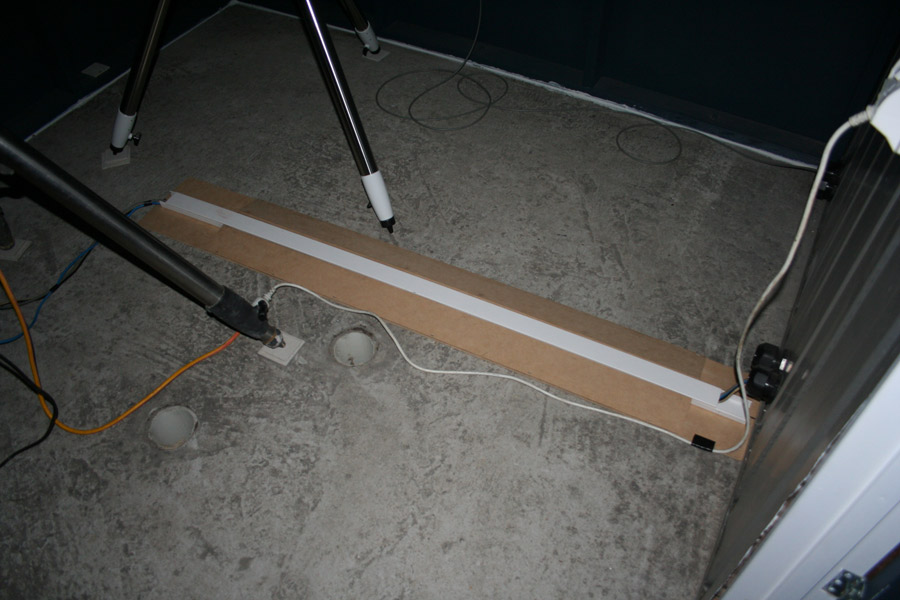
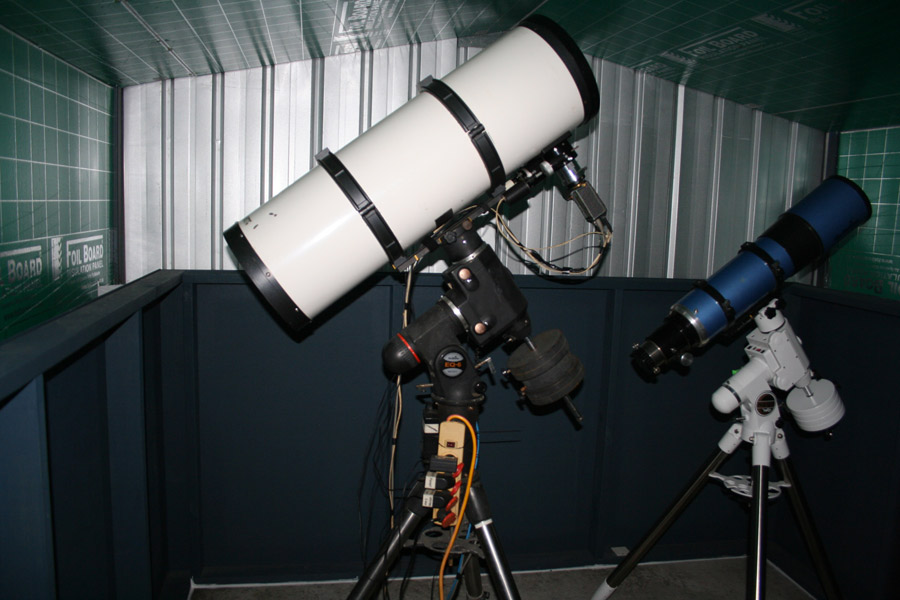
and onto the Mount to control GoTo, Cameras, Focus etc.
(Ken's EQ6 on the left and Tim's HEQ5 on the right)
Thank you for your patience going through this very lengthy photographic journal
COMING SOON
A VIDEO OF THE OBSERVATORY IN USE
RETURN SOON TO SEE THE VIDEO
COMING SOON
A VIDEO OF THE OBSERVATORY IN USE
RETURN SOON TO SEE THE VIDEO